|
|
Post by martin42006 on Jun 13, 2018 12:16:46 GMT
August 25th 2016
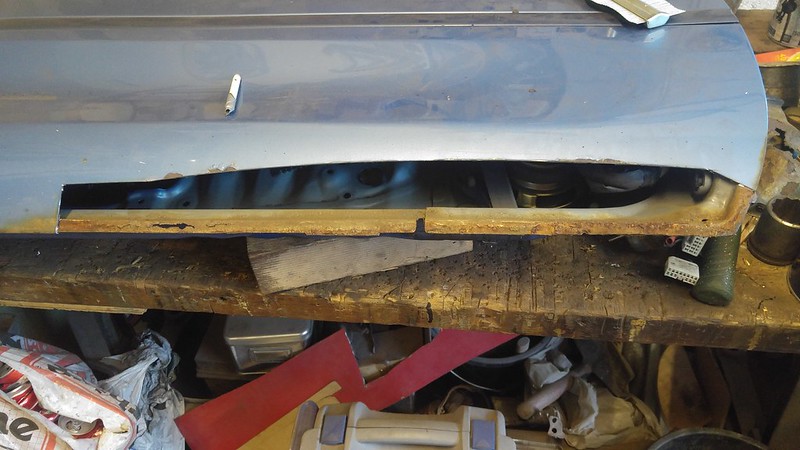
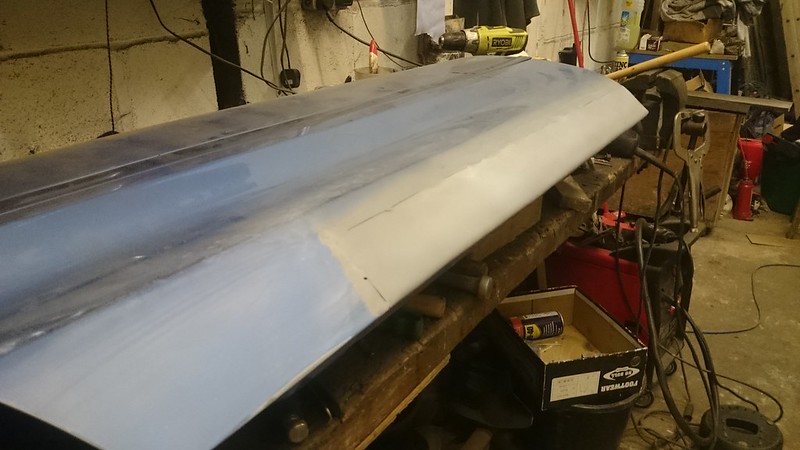
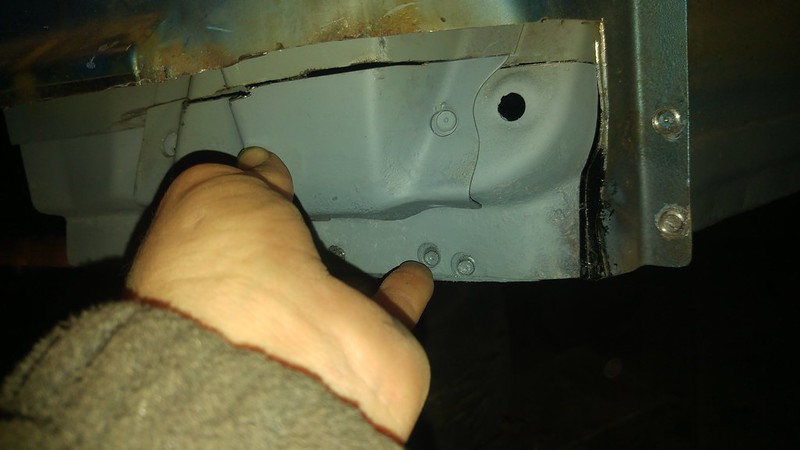
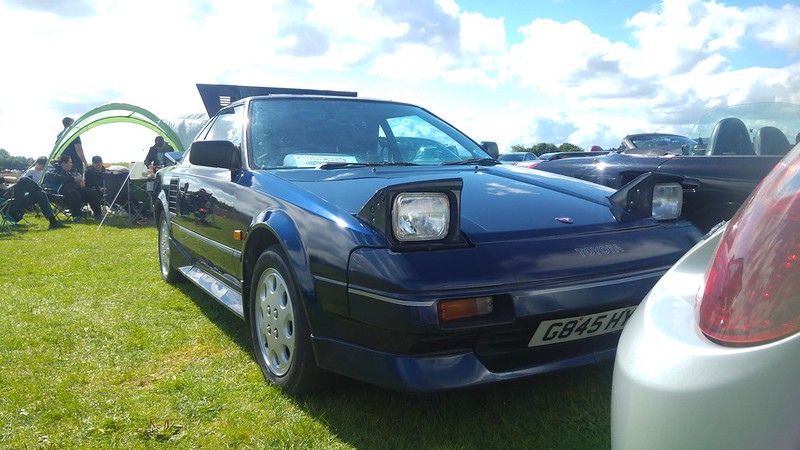
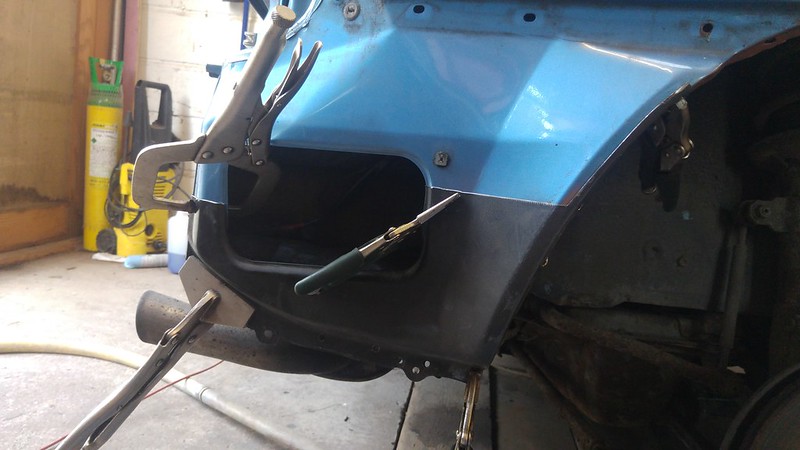
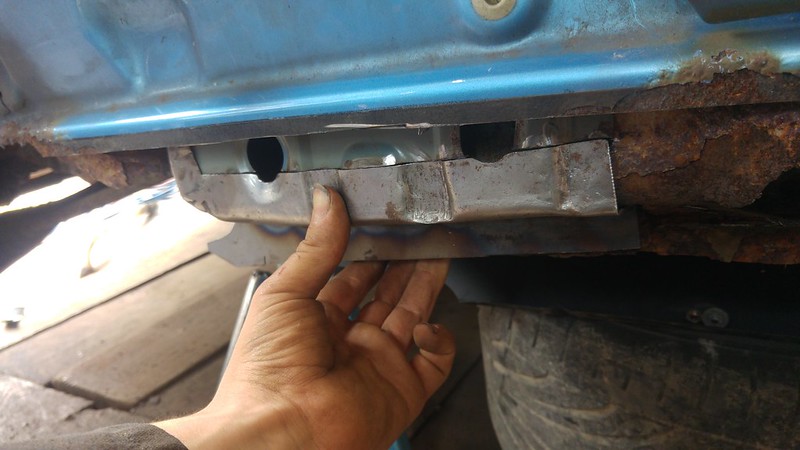
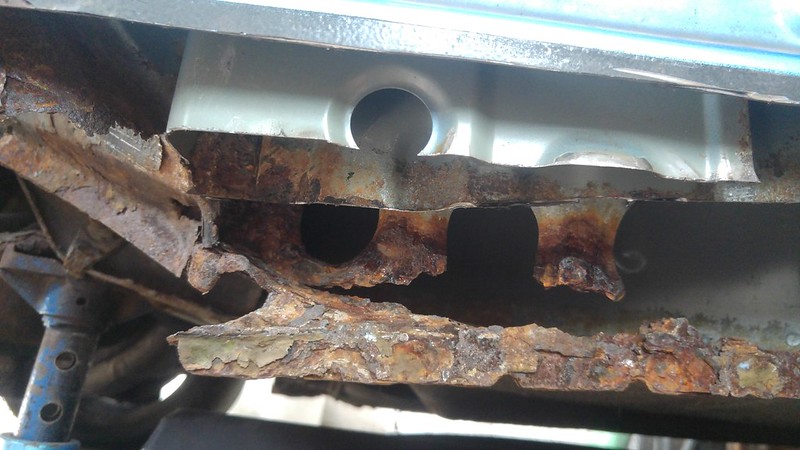
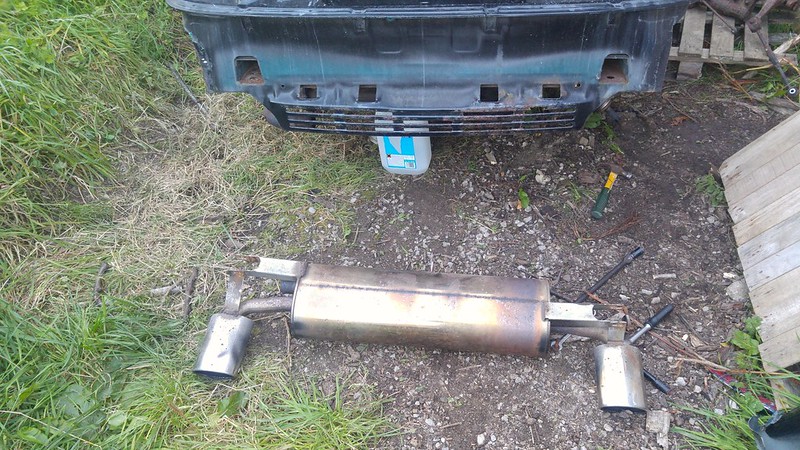
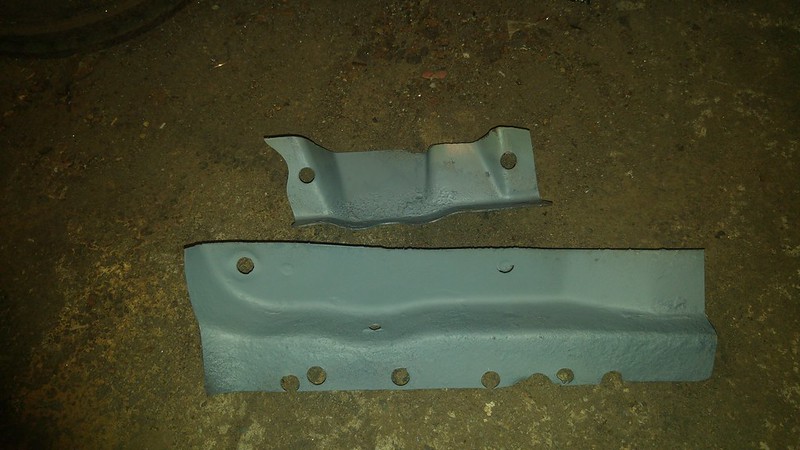
Righty ho At the risk of sounding like a stuck record, the MK1 is back on the road again. Here she is at petrol and pistons show last weekend. Nice and shiny albeit without an eyebrow. Anyhow lets get cracking with sky Large hole that needs filling on the back end Hole filled,
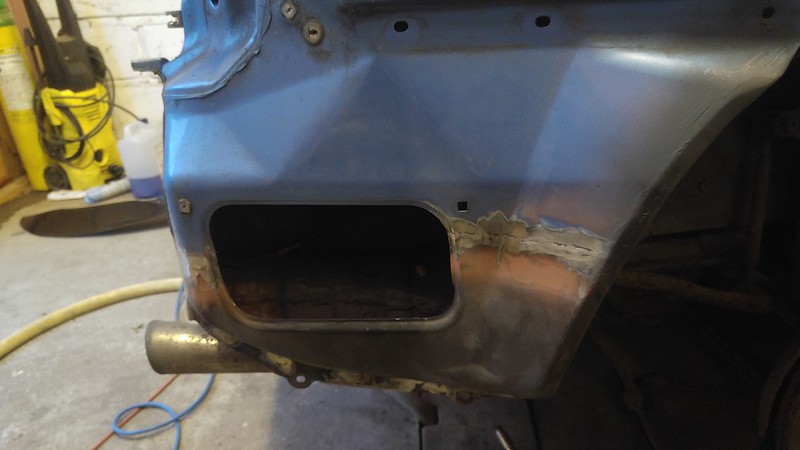
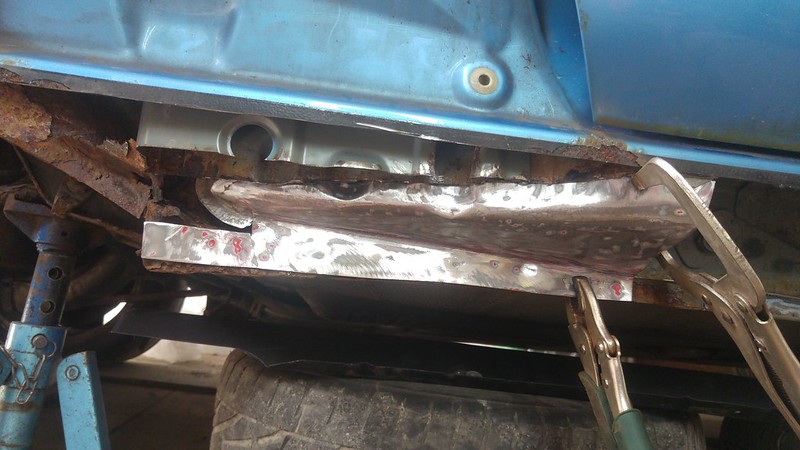
hmm now i have heard that the MOT man frowns on using clamps to secure, so i suppose i should get the welder out. Tacked And seamed
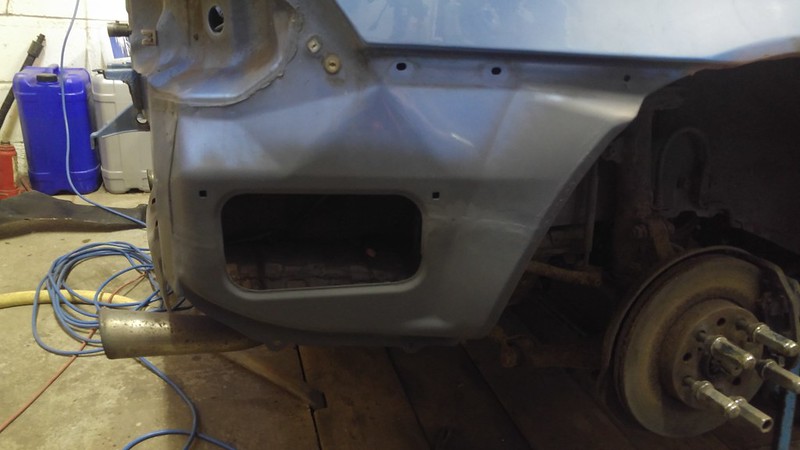
Coat to etch primer and finished grinding down  Im very happy with the end result |
|
|
|
Post by manitou on Jun 13, 2018 12:18:44 GMT
August 25th 2016
Righty ho At the risk of sounding like a stuck record, the MK1 is back on the road again. Here she is at petrol and pistons show last weekend.  Im very happy with the end result I can see your pics now, did you change something?  |
|
|
|
Post by martin42006 on Jun 13, 2018 12:20:42 GMT
Yep changed the source where the images were coming from as safari apparently doesn't like Google drive.
|
|
|
|
Post by manitou on Jun 13, 2018 12:25:46 GMT
Yep changed the source where the images were coming from as safari apparently doesn't like Google drive. most excellente, just had a real quick read of your stuff. Very impressive work man. |
|
|
|
Post by martin42006 on Jun 13, 2018 12:50:29 GMT
Yep changed the source where the images were coming from as safari apparently doesn't like Google drive. most excellente, just had a real quick read of your stuff. Very impressive work man. Thank ye kindly. There has been alot of work on this car so stay tuned I will keep updating as I get chance. |
|
|
|
Post by martin42006 on Jun 13, 2018 12:51:17 GMT
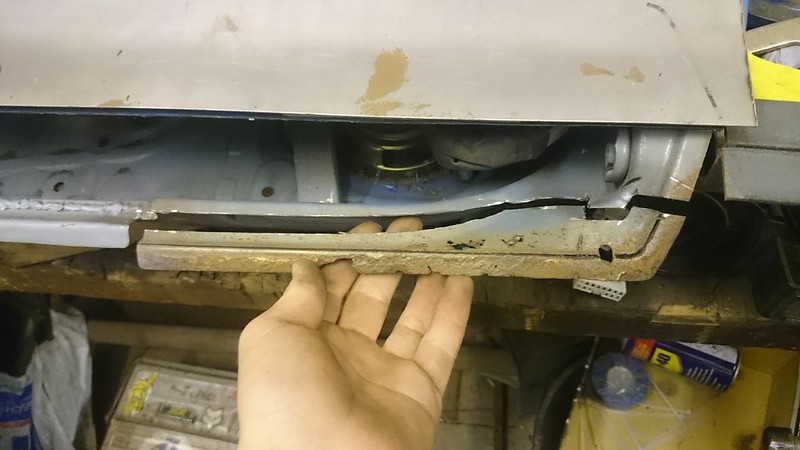
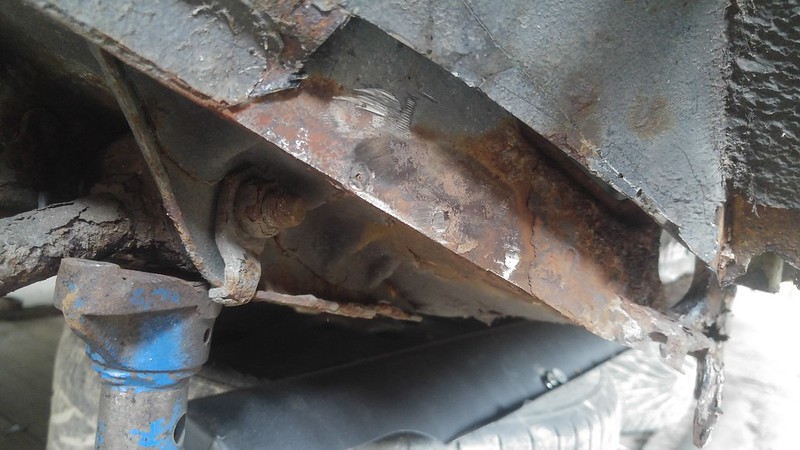
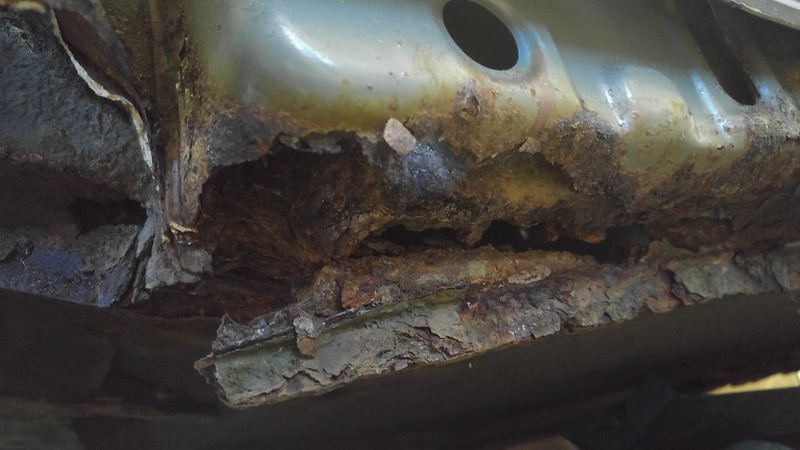
August 29th 2016 After a long weekend we should have made some decent progress but i did run out of steel whilst making panels. So the sills were the thing that were next on the list.
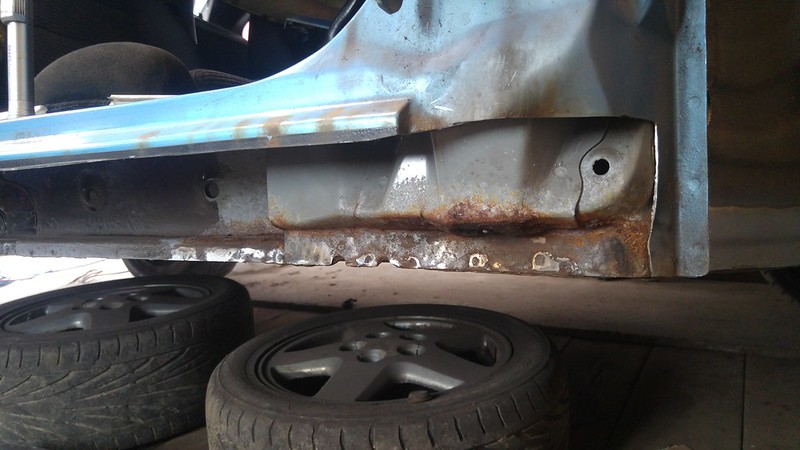
 They are very rusty :/ Jow the problem i have is that there are so many layers in the sills to make that if i was to cut out the layers and work my way out from the back then i wouldnt be able to make the panels as i wouldnt have any bits to give me the correct shape. The option i went with was to make the panels and then cut out the rotten steel and work on the one behind. First panel. 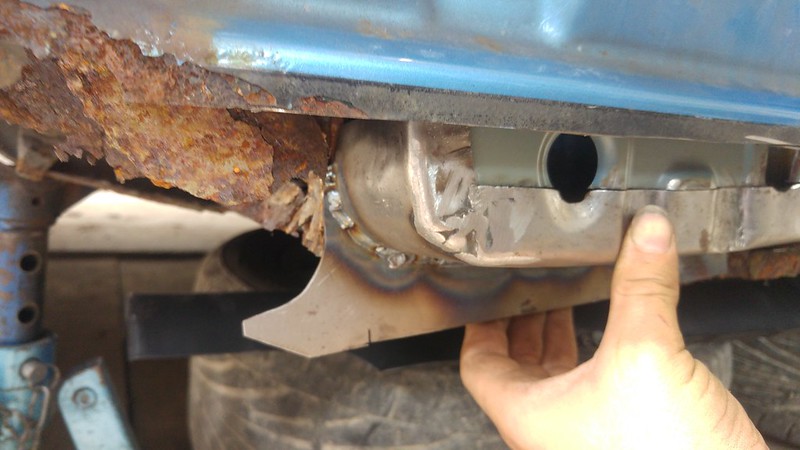 Second one
 Still have so much more still to do on this side
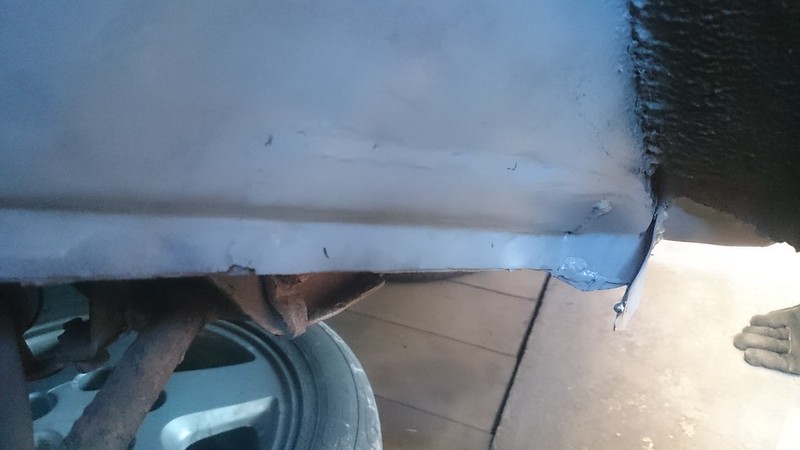
Even the bottom of the sills were a bit to thin for my liking 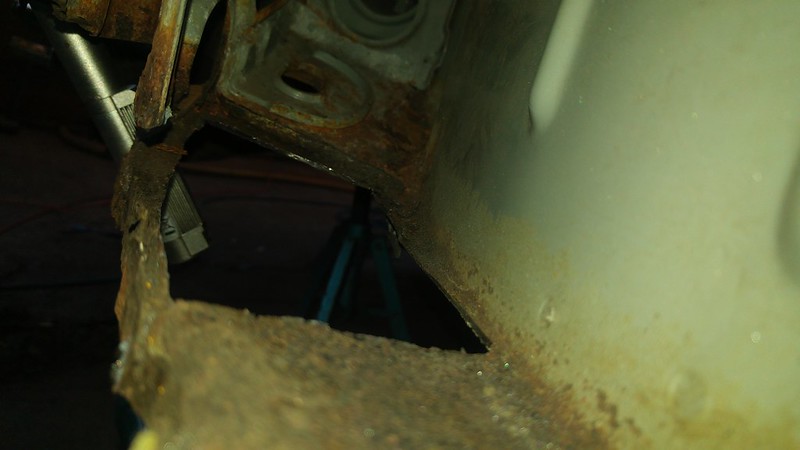 I have made the inner panels out of 1mm sheet but the outer pieces will be 1.2 or 1.5mm depending what i can get hold of. I have also continued to strip down the donor aswell this weekend and found that the rear subframe is immaculate |
|
|
|
Post by martin42006 on Jun 13, 2018 13:09:20 GMT
August 30th 2016 What an exhausting evening haha.
Continued stripping down the donor and got the rear struts off, took alot of pressure to get the d/s driveshaft out of the hub, i left it overnight with approx 15ton :eek: of pressure from a puller and soaking in wd40, its off now though. I also checked my outersills against my repair pieces and it appears to touch but doesnt interfer. :phew: although the panels arnt welded on so its hard to say. |
|
|
|
Post by martin42006 on Jun 13, 2018 13:11:42 GMT
September 4th 2016 Right so where did i leave off? Oh yes removing the base of the sill.
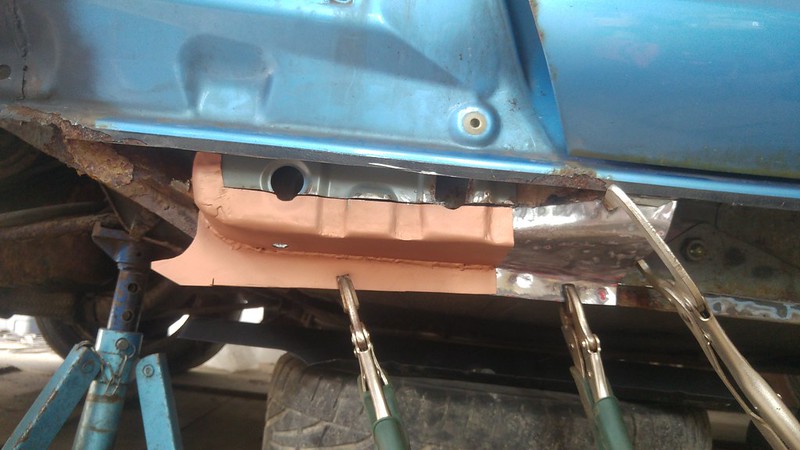
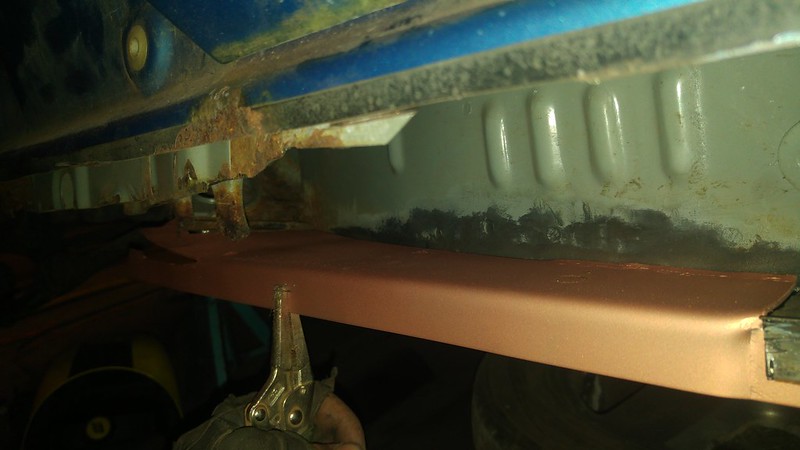
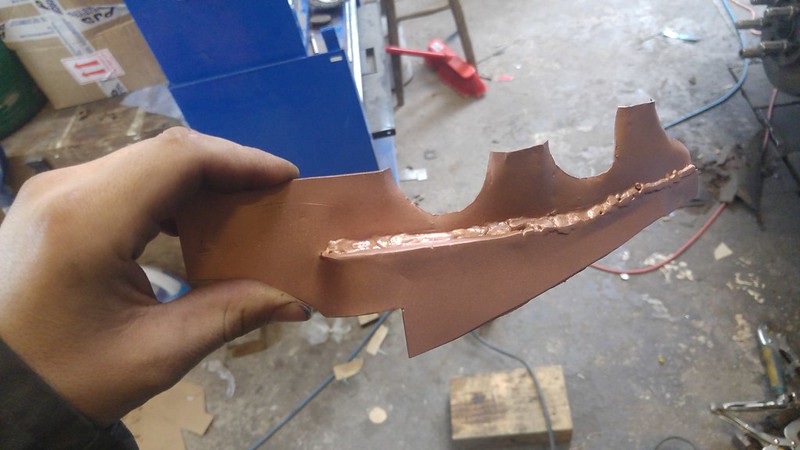
New plate made and weld primed. Im using a copper weld primer as i ordered the wrong stuff but it still works quite well Next plate made 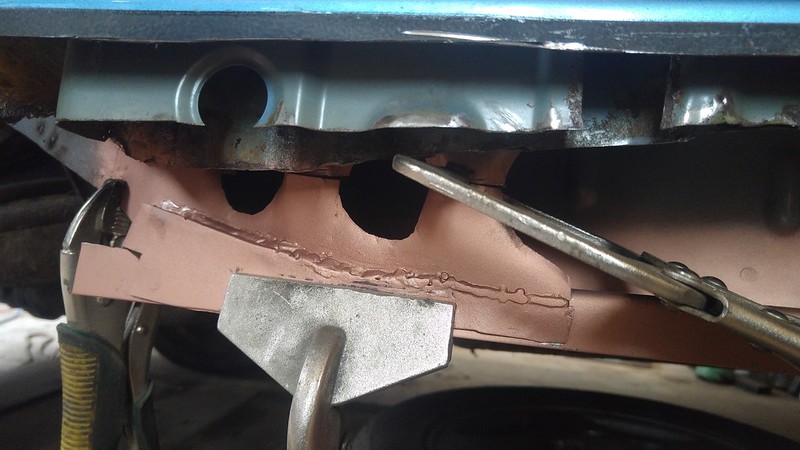
I started welding all the parts on and forgot to continue taking photos but you have already seen the photos prior to welding in.
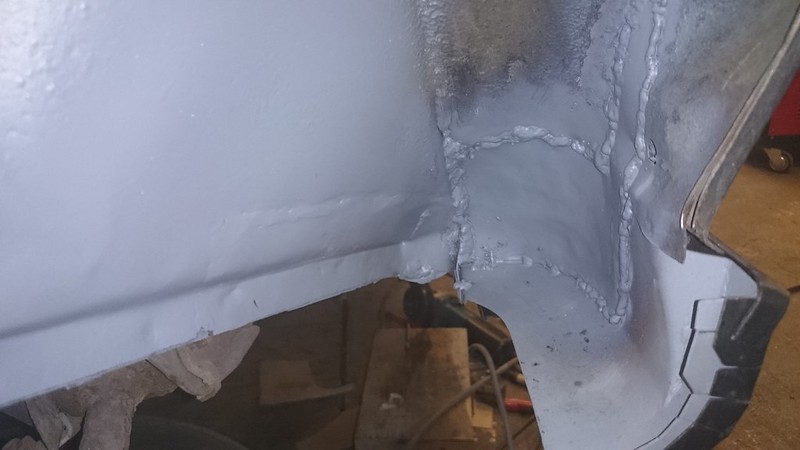
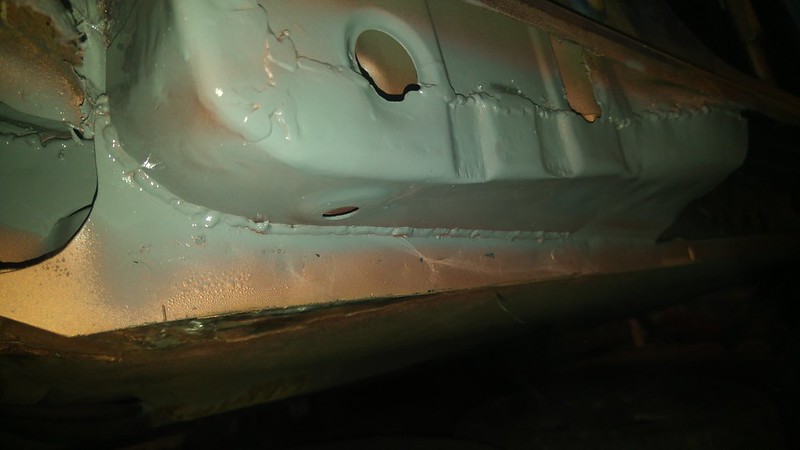
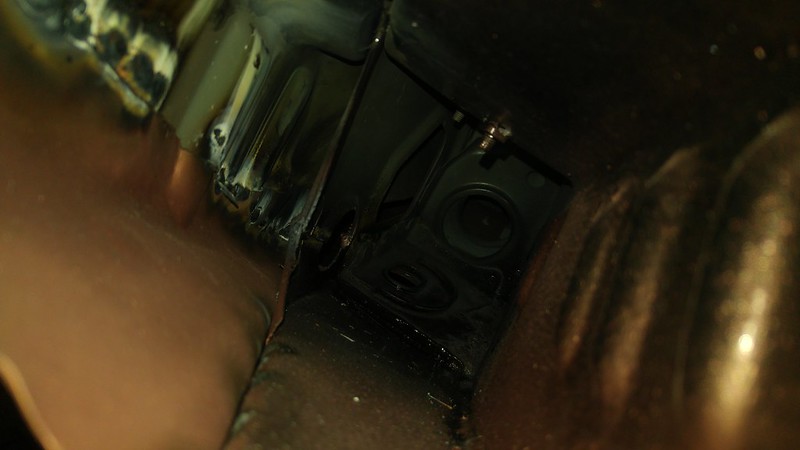
I dont think it came out too bad Inside the tunnel I have also cracked on and cleaned and painted the rest of the inner sill. Painted with rust inhibitor primer then a good coat of hammerite. Started work on the front also It was looking rather crusty
Its hard to see but cleaned with deruster, scrubbed and then painted down the front tunnel. Also cleaned up the inner sill panels as they were salvageable.
Its been a very exhausting weekend and now its time for sleep so that i will be functional for work in the morning |
|
|
|
Post by martin42006 on Jun 13, 2018 23:03:50 GMT
September 14th 2016 Busy busy busy Ok so mostly i have been busy polishing the mk1 but hey it still counts right. No? Ok then Front inner sill panels welded back into place. You will just have to use your imagaination though as i forgot to take a photo. Made a replacement outer panel
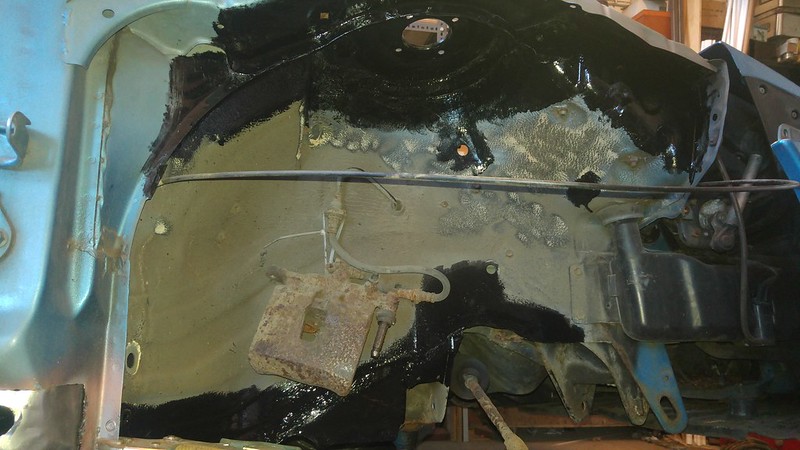
And welded it in I have also been doing a little bit under the front arch at the same time as it was looking rather iffy under there. So cleaned off with a wire wheel on the grinder, then rust inhibitor and some hammerite. 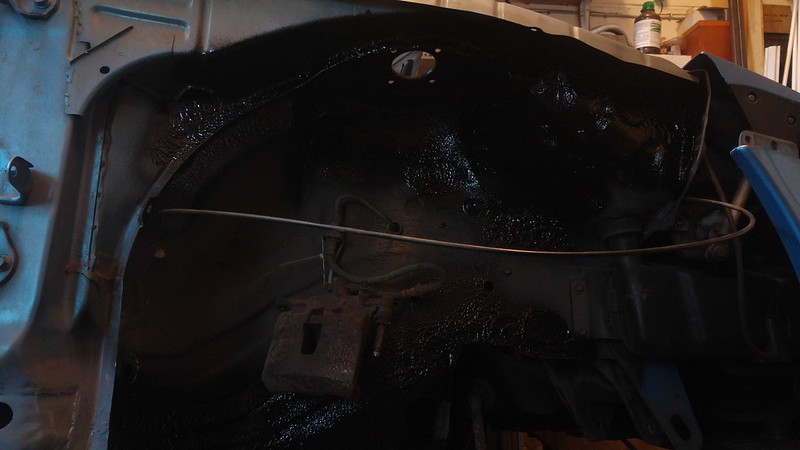
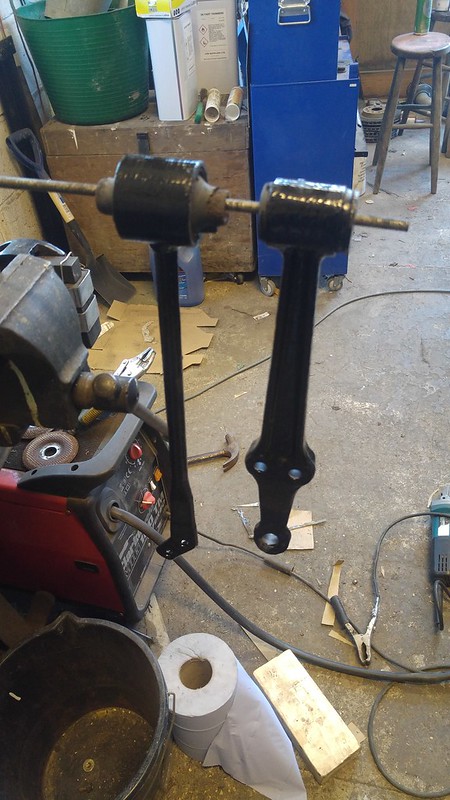
Along with some undersealer for good measure. Whilst they were off i cleaned and painted the suspension arms aswell. Yes i know i should change the bushes but thats not happening till the car has an MOT and i know that it is all good. There will be quite a wait before the next bit gets done as im going to Malta next week for a break. |
|
|
|
Post by martin42006 on Jun 14, 2018 12:01:48 GMT
October 12th 2016 Im back from my diving trip now and still breathing which i believe is a bonus, although im sure i can find an ex gf somewhere that would disagree.
Project Sky can recommence
When i left most of the internal sill parts had been finished and i just really had the outer sills to make so left begin with that.
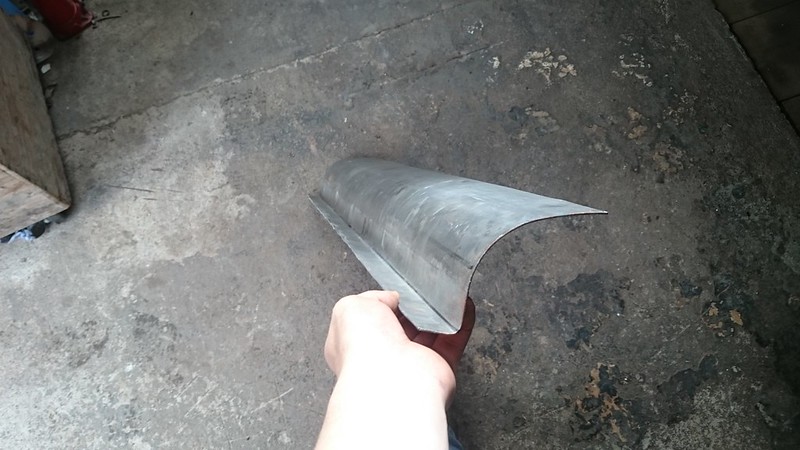
There we go, that was easy wasnt it, erm no it wasnt. i shaped the panel round an old pole that i had lying around then tweaked it round something smaller, about half way through doing it i really wished i had used 1mm rather than 1.5mm sheet steel.
Its done anyway, and it fits [img src="
![]() farm1.staticflickr.com/932/28771397327_e2f9f626eb_c.jpg farm1.staticflickr.com/932/28771397327_e2f9f626eb_c.jpg" style="max-width:100%;" class="smile" alt="  " src="//storage.proboards.com/forum/images/smiley/grin.png"] I left the top and bottom long for obvious reasons whist shaping it so i will have to cut it down. Now that i have an outer sill to weld on the next logical step was to work on the door right? Ok maybe not but thats what i did anyway.
so this is what we started with, as you can see its rather rusty.
First step is to remake the bottom of the inner frame.
Right so thats that
Outer panel now
Ended up shaping this piece round an old gas bottle.
and as i was doing that i noticed the other panel on the inner frame had gone aswell
So im holding off on the outer plate till i have finished this piece. got it cut out, a template made and the steel cut the other evening but i havnt got it shaped yet.
It would probably have made more sense to just buy a replacement door but where would be the fun in that.
So thats where we have got to so far, nearly halfway there on welding :yahoo:
|
|
|
|
Post by martin42006 on Jun 14, 2018 12:05:25 GMT
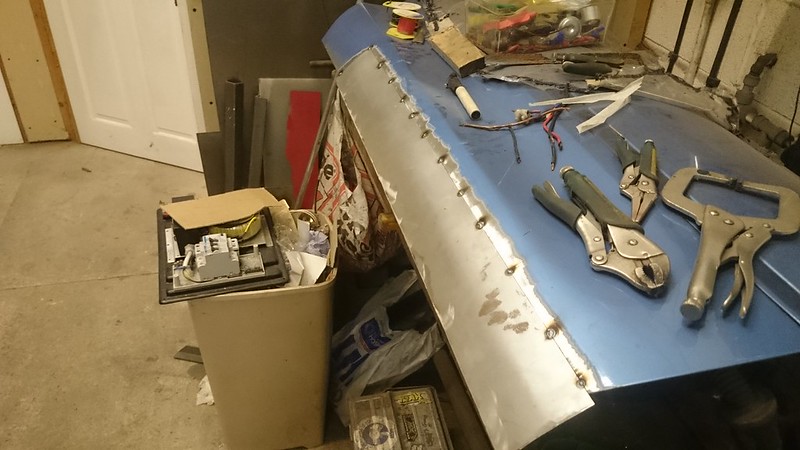
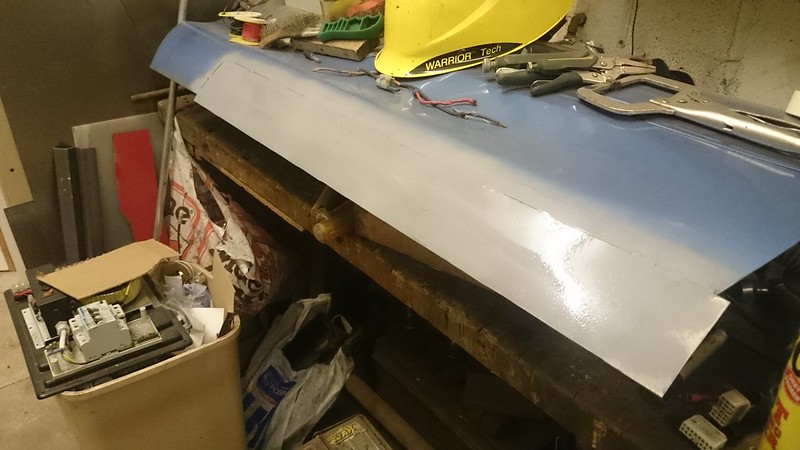
October 12th 2016 Thank you I will try. Onwards and upwards Got some more done on the door tonight after I got back from work. Inner panel finished which took a considerable amount of shaping.
And all welded up. So next goes on the outer panel that I made earlier. I haven't done much welding on thin bodywork before so turned the welder to its minimum and did small lengths of weld at a time. This was to avoid buckling the panel and apparently I failed anyway. I will admit it's quite hard to see atm but is a tad rippely in areas. So I will have some filling to do. Despite having a wavy door I got the side and bottom folded over for now. That's where I have left it for tonight, and now I need some dinner |
|
|
|
Post by manitou on Jun 14, 2018 12:12:35 GMT
Ok fella's some of you asked for this so dont blame me. Im going to be loading the full build thread upto this point. There is quite a lot so will just be a few bits at a time. It will mostly be copied from the original thread so when it looks like im talking to someone then i probably was and not just going a bit insane. With all that over lets go back to the past.
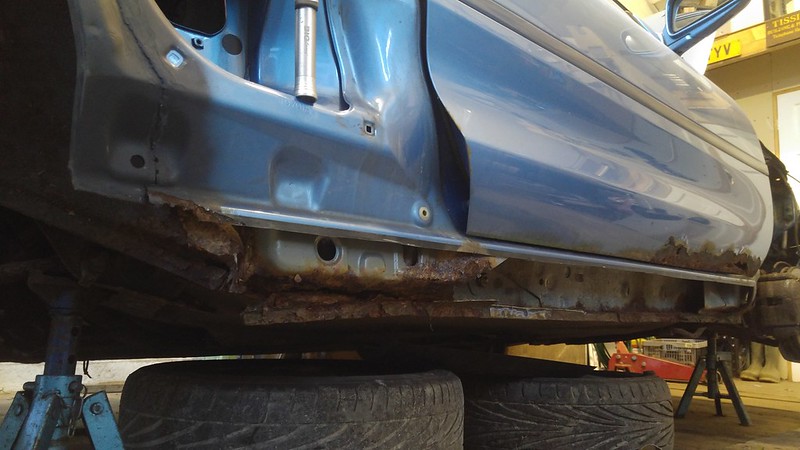
As i might have some spare time i was contimplating another project and a friend at work has been trying to sell me his MK2 for the past year or so since i started working there, and he made me an offer on it i couldnt say no to. So a hearty welcome for Sky, the newest member of the family. :clapping:  The ugly I think pictures will be the best way to explain Drivers side sill  Passengers side sill  Yeah, we did ask for it, glad we bloody did too! I can't say I would have given the car a second look with that sort of rust unless it was some sort of family heirloom, talk about bringing a car back from the dead! Makes me think I should get off my arse and actually do something to my car rather than just thinking about it... |
|
|
|
Post by martin42006 on Jun 14, 2018 12:22:54 GMT
Yeah, we did ask for it, glad we bloody did too! I can't say I would have given the car a second look with that sort of rust unless it was some sort of family heirloom, talk about bringing a car back from the dead! Makes me think I should get off my arse and actually do something to my car rather than just thinking about it... Glad your enjoying it. I'm surprised how much the car has progressed since I got it with lots more to go. It wasn't anything special but I don't like seeing cars go to waste. My MK1 is the heirloom and has had alot of work with lots more to do. |
|
|
|
Post by martin42006 on Jun 14, 2018 13:37:08 GMT
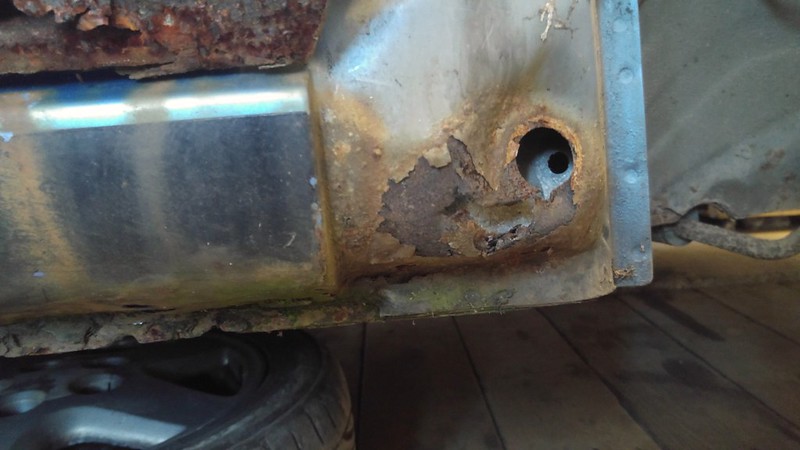
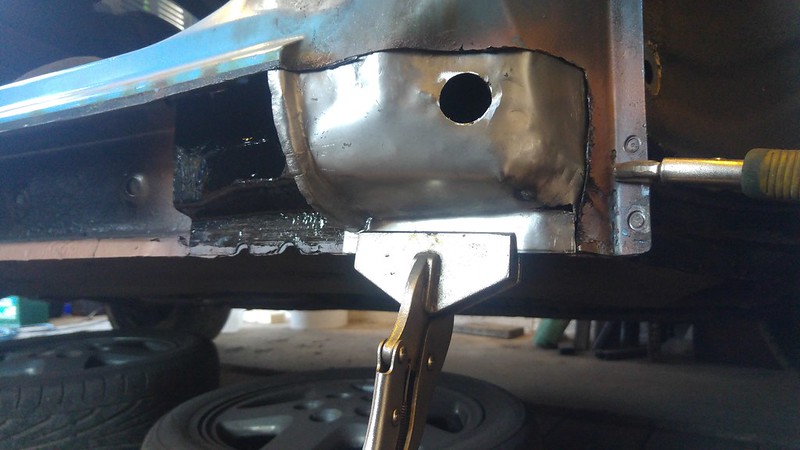
October 18th 2016 So after a long weekend had i managed to finish the DS sill? Na dont be SILLy... haha get it? Ok I'm sorry. We are getting close though Had a small hole behind the sill which i proceeded to make into a large hole and then cover. Stop giggling you lot. :laughing See no hole anymore The next part is the very end of the inner sill, i did buy a repair panel for that but i couldnt figure out how it is supposed to fit as it was so i chopped it up and added some bits. I still have some tidying up on the welds to do but the panel is in and sealed for now. Right so what bit comes next? Could it be time for the outer sills finally? yes it is :yahoo: First piece tacked on Second piece required some shaping at the top it was a tad rusty futher up Nevertheless that is tacked on aswell. I still have to weld them all the way along and plug weld the bottoms, I also have a strange little curved piece to make which goes from the sill to the start of the arch. I have been doing the door at the same time which is nearly done and just needs some more sanding down and then paint. Happy to say that this side is finally seeing some proper progress. :th: |
|
|
|
Post by martin42006 on Jun 15, 2018 12:01:07 GMT
October 20th 2016 We are getting closer every day, or every evening after work anyway.
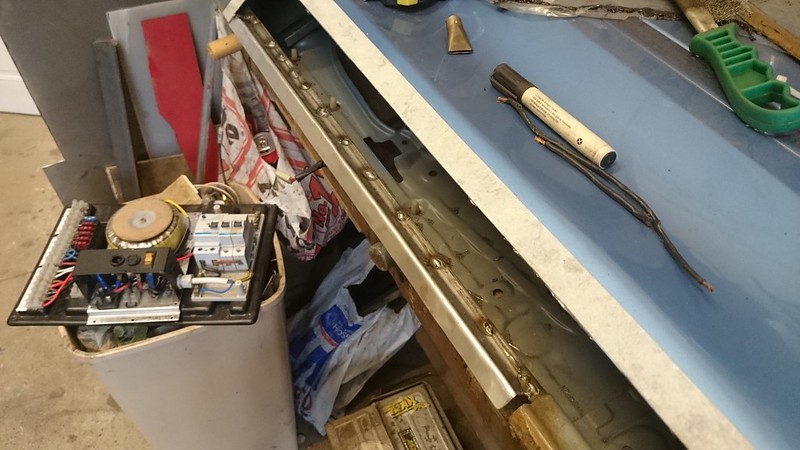
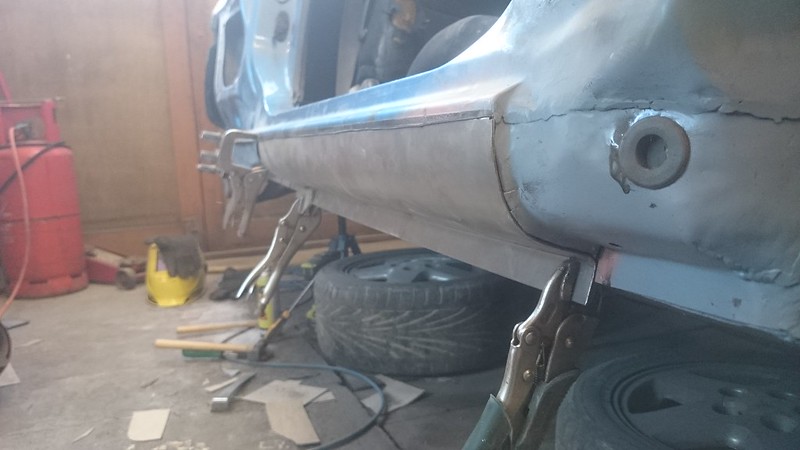
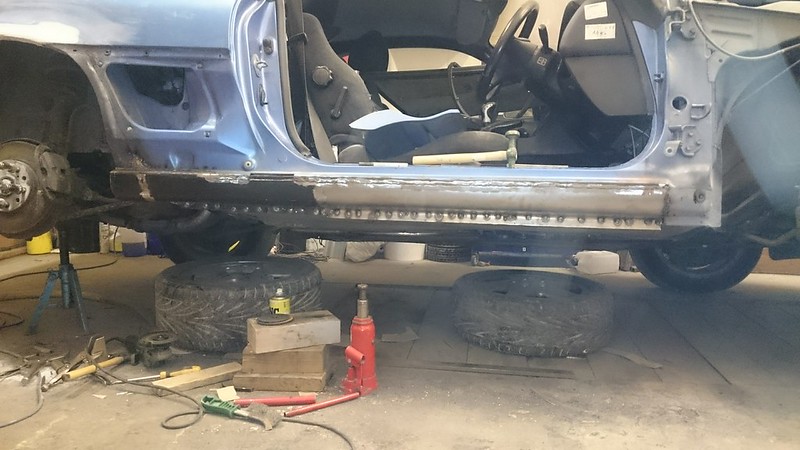
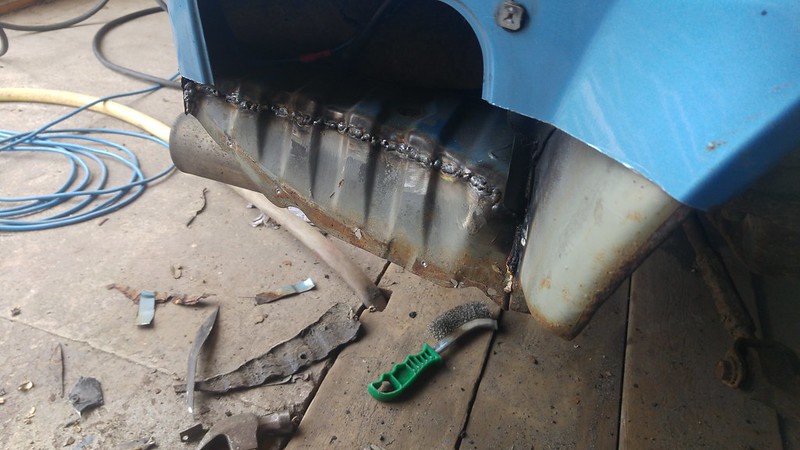
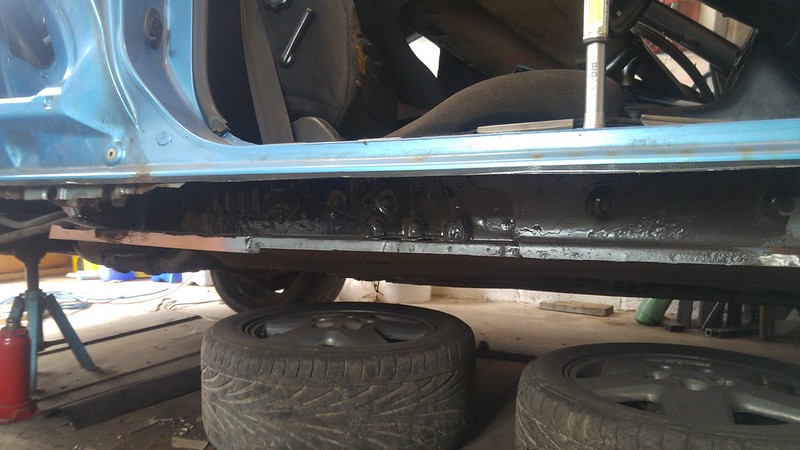
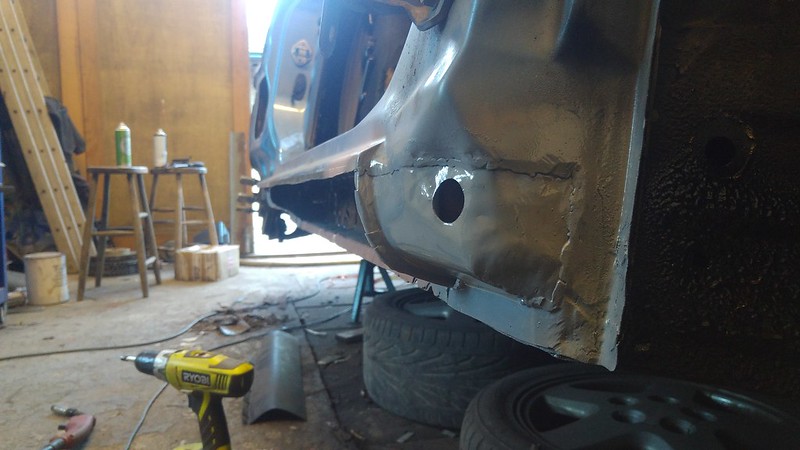
The outer sill is now nearly completely all welded.
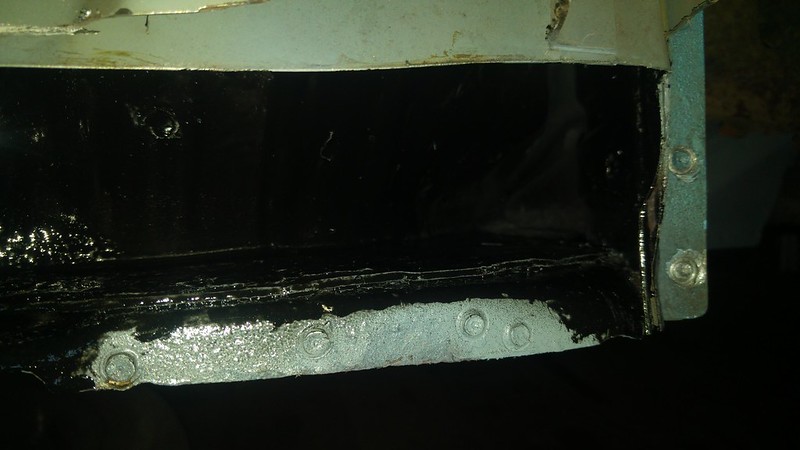
the top has been seam welded and the ground down, the parts of the sill have all been seam welded together and the bottom has been plug welded all the way along the bottom.
To answer your questions yes thats a awful lot of plug welds and yes i went through a couple of drill bits making the holes.
My reasoning for that many is simple "It wont fall off" although i will admit that i may have got a little carried away.
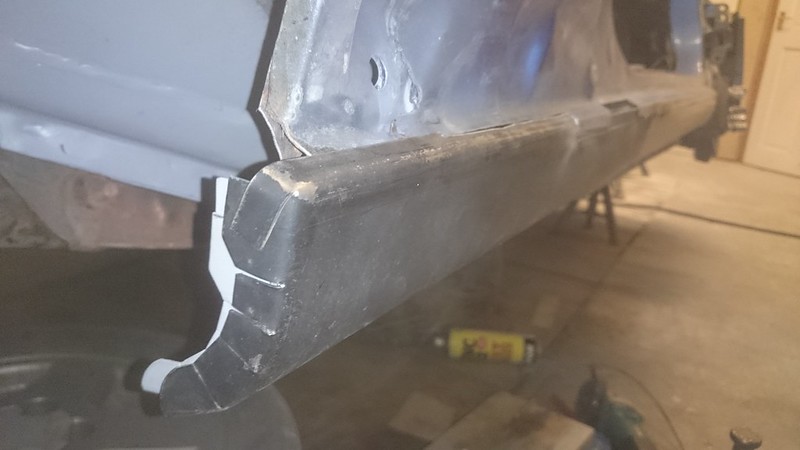
As you can see i still have the little curve on the end to make along with a small part on the top, im sure you can see where without me pointing to it. And yes i still have to trim the excess off the bottom.
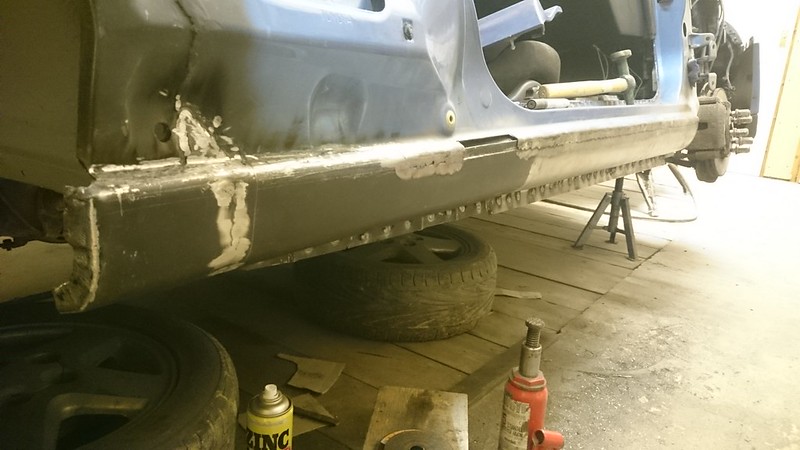
Now im sure your wondering why on earth there is 2 weld lines down the sill when i only had 2 sill panels, well err.. erm.. its there because i may have accidentally welded the 2 panels together on the car then realised when i went to test the vent panel that the sill was 1/2" to long :facepalm: so the joint is where i chopped a strip out of the outer panel.
So now that confession's aside i feel much better.
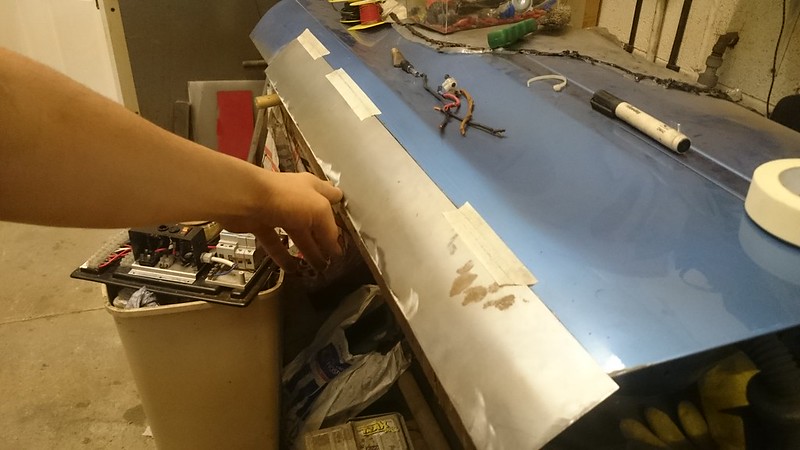
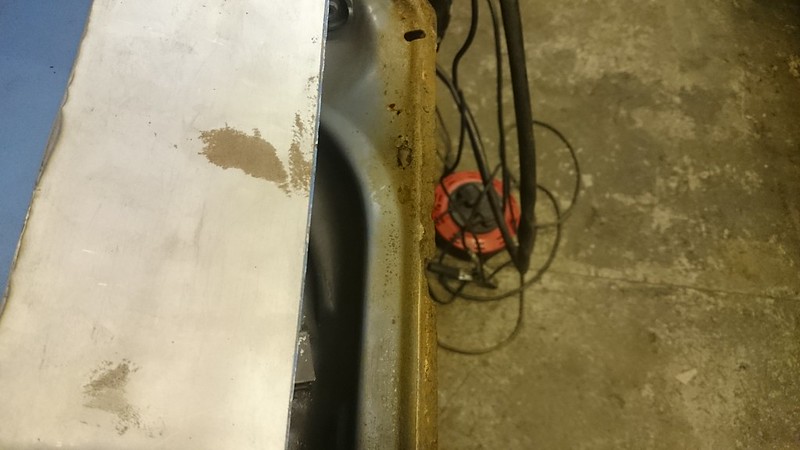
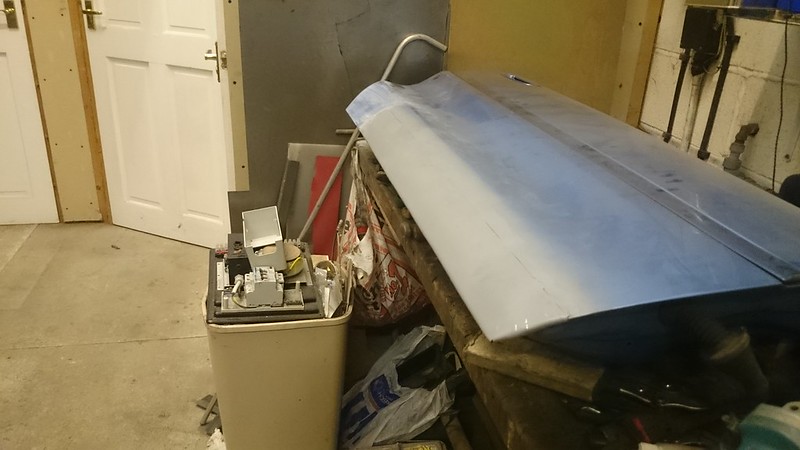
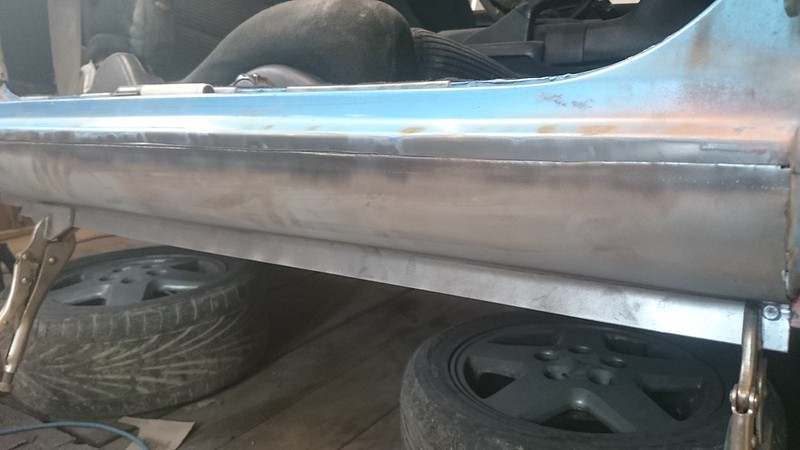
Time for a quick coat to paint as a temporary coating
I just used some of my rust inhibiting primer as Sky might need to be moved out of the workshop so that i can replace the windscreen on my MK1, it depends how much rust is behind the screen when i get it out.
|
|


 " src="//storage.proboards.com/forum/images/smiley/grin.png"]