Post by byrney1984 on Jul 21, 2018 8:34:21 GMT
Right as promised a small write up on my V6 turbo conversion.
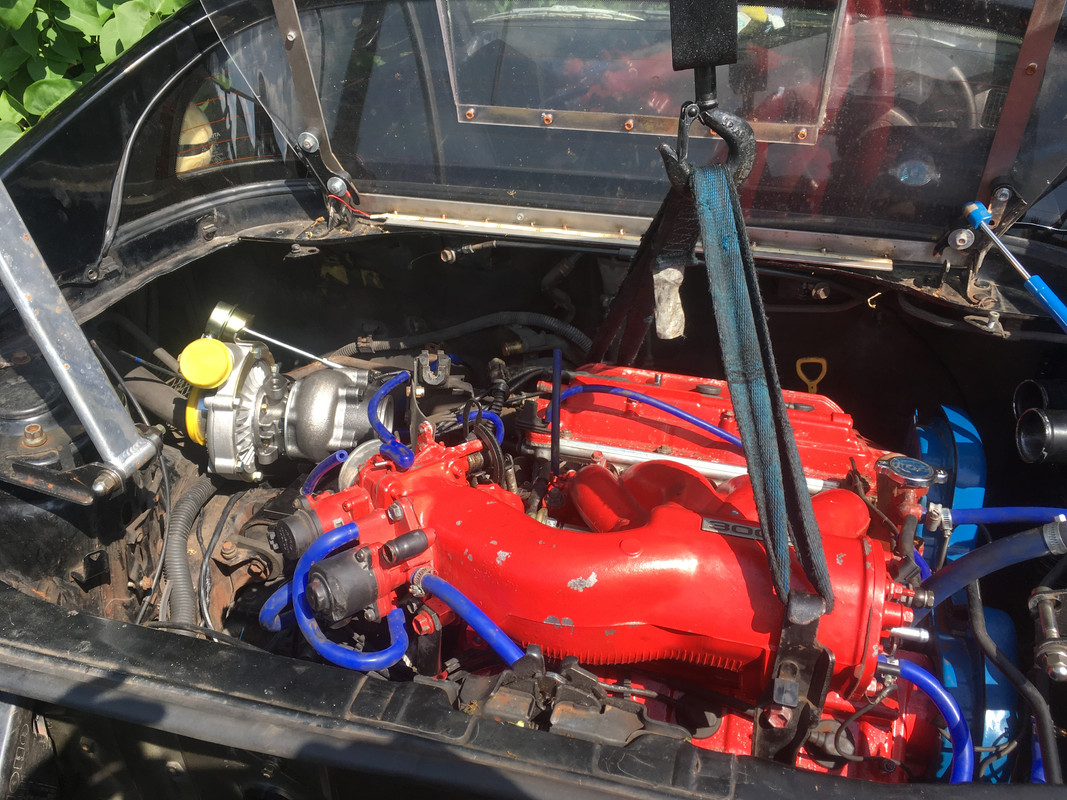
I did have this in mind when I first started the V6 conversion 18 months ago but as things get I the way I had to settle for just a na v6 for 12 months. So after 6 months of sourcing more or less everything I need here's my build.
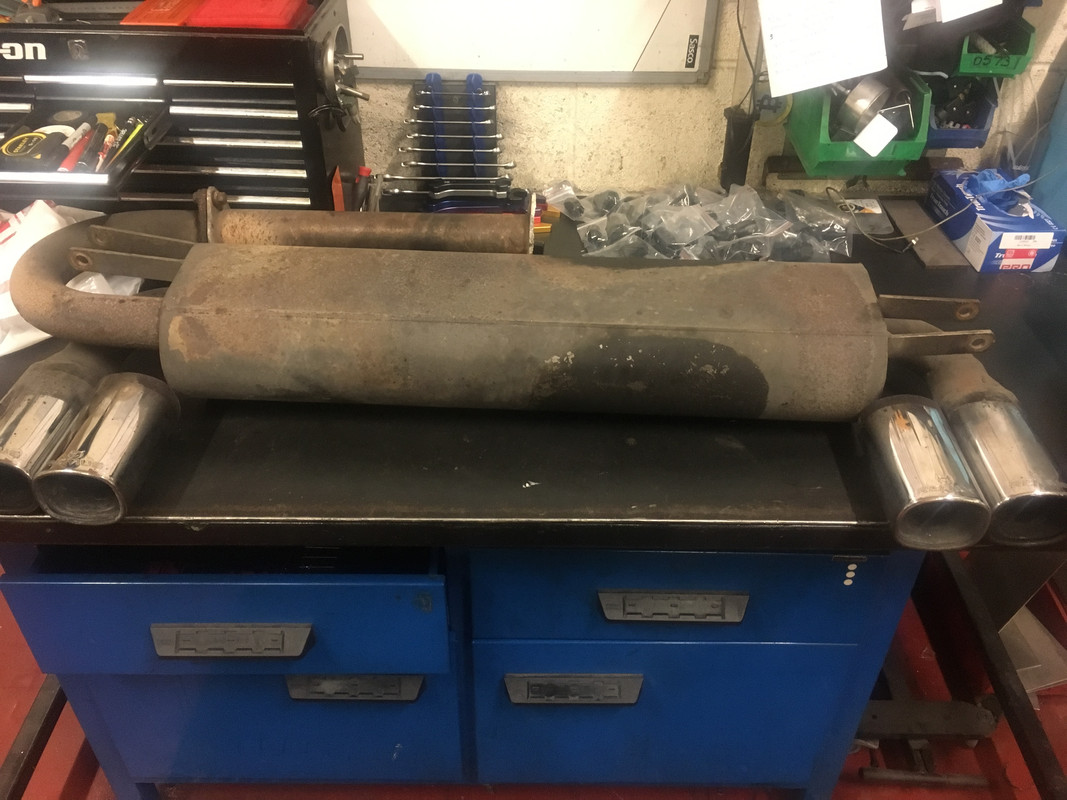
I started with this
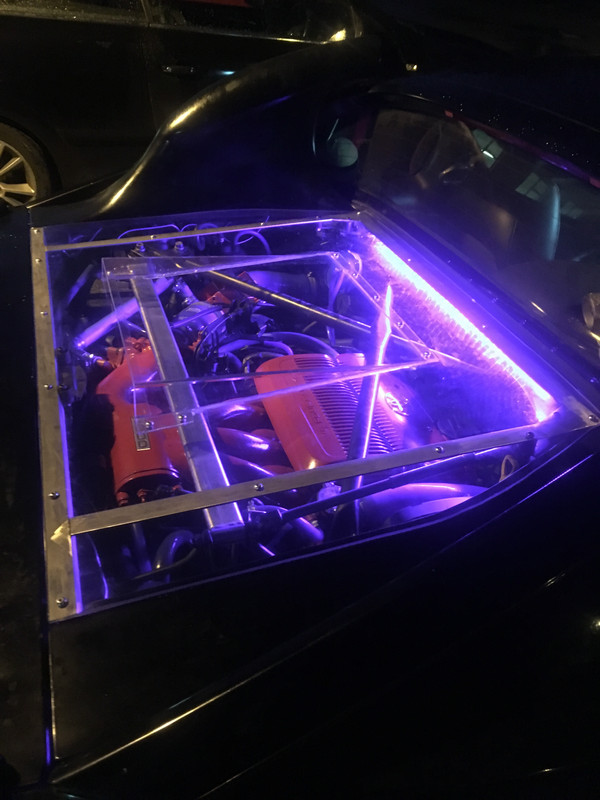
Pulled the whole rear end out, as it was easier to mock up the exhaust route and I wanted to rebuild the bottom end. This was the only thing I didn't do when I did the original conversion. Mainly because the engine had only done 81,000 miles.
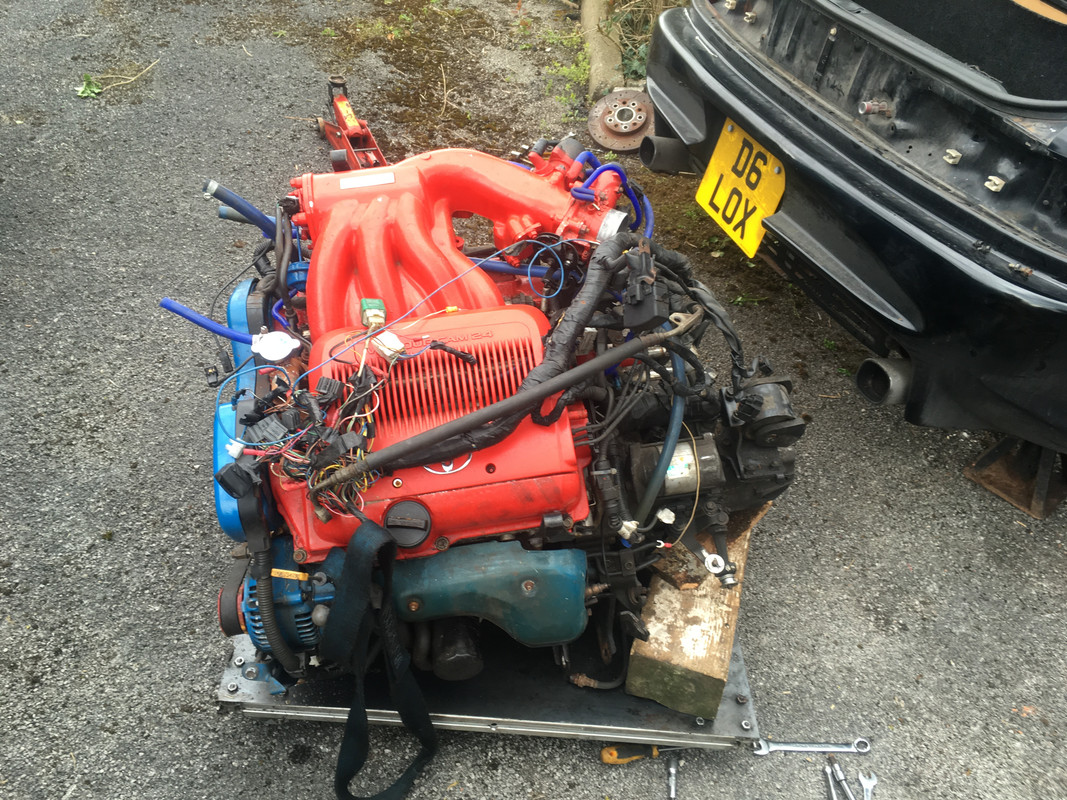
Even after 12 months of being driven daily the poor thing looks knackered, but on to a new lease on life for this beast.
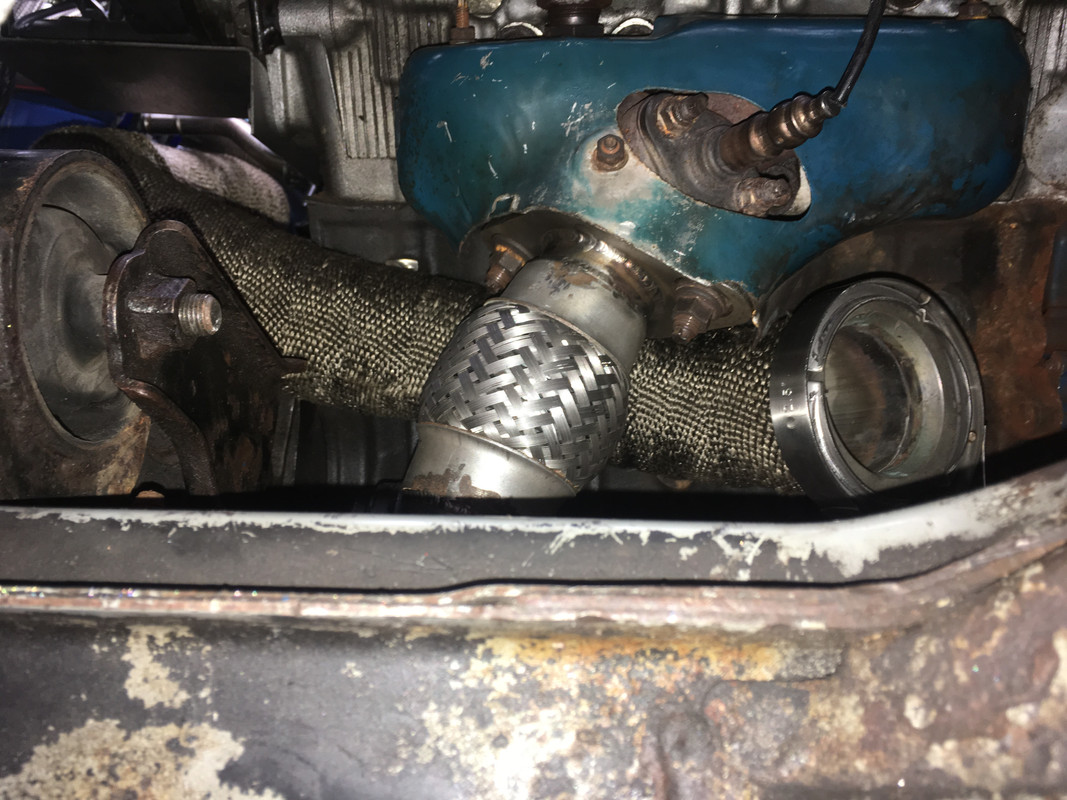
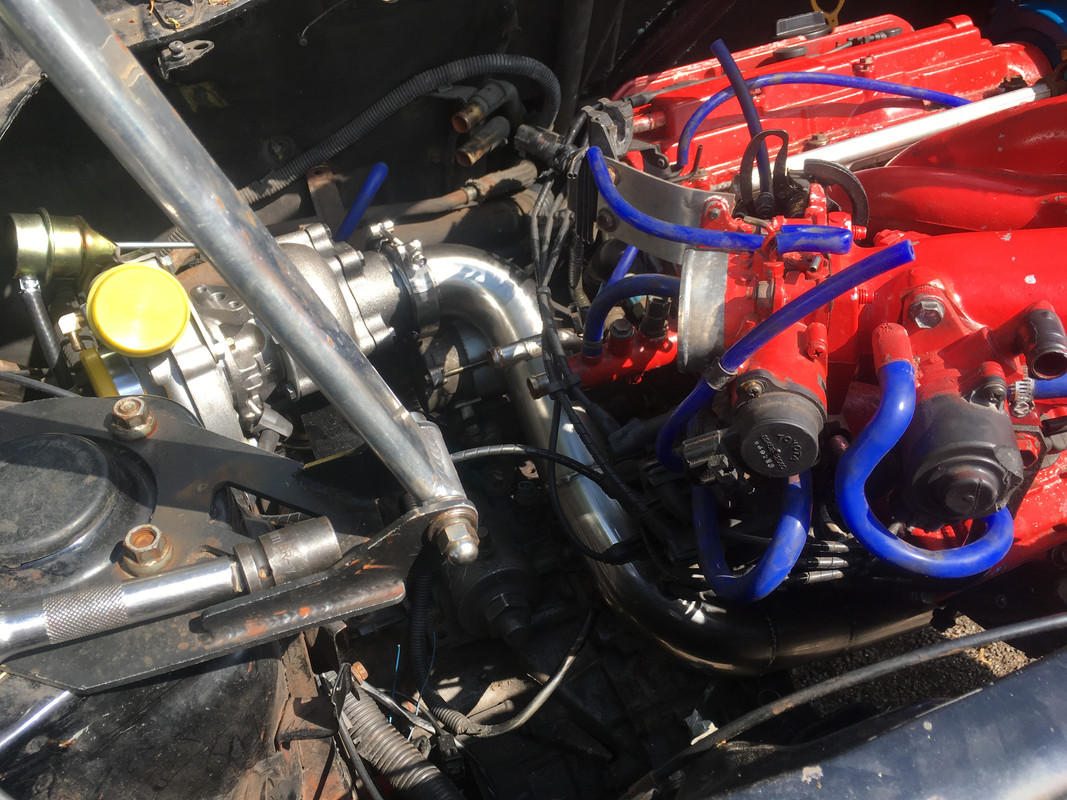
The first thing was to fabricate a mount to hold the turbo over the gearbox but still allowed space for the exhaust to and from it. Although the piping was to be heat wrapped as well as a heat jacket for the turbo.
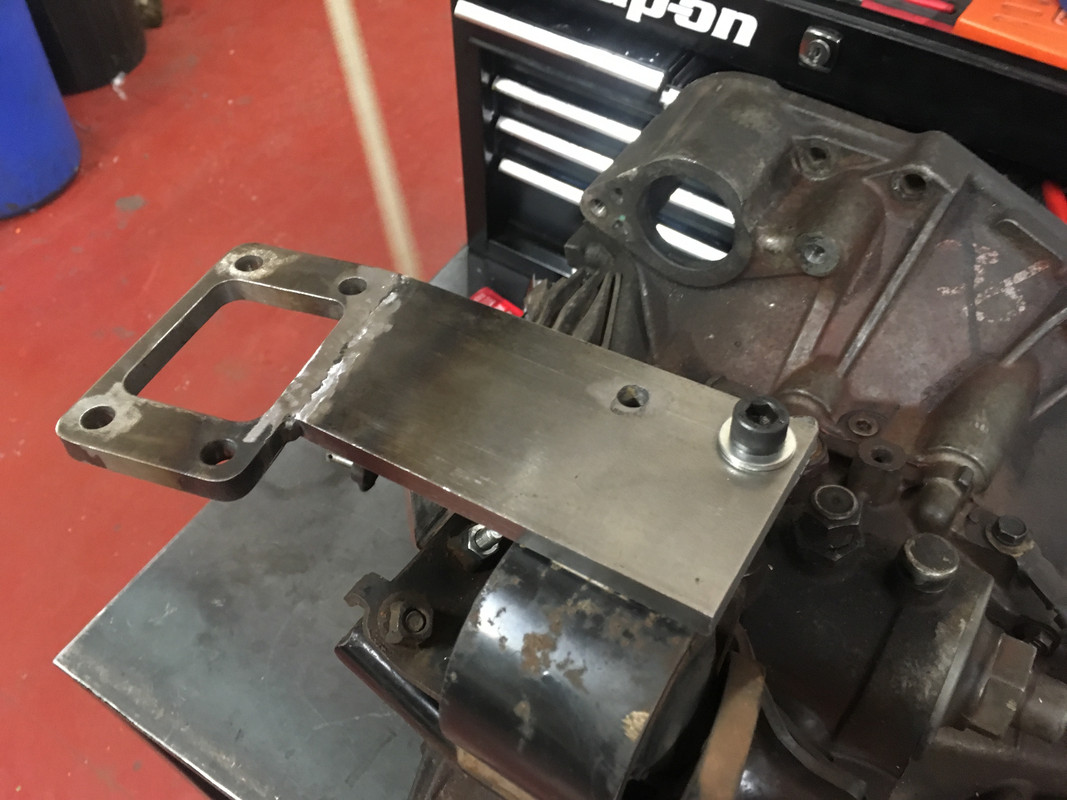
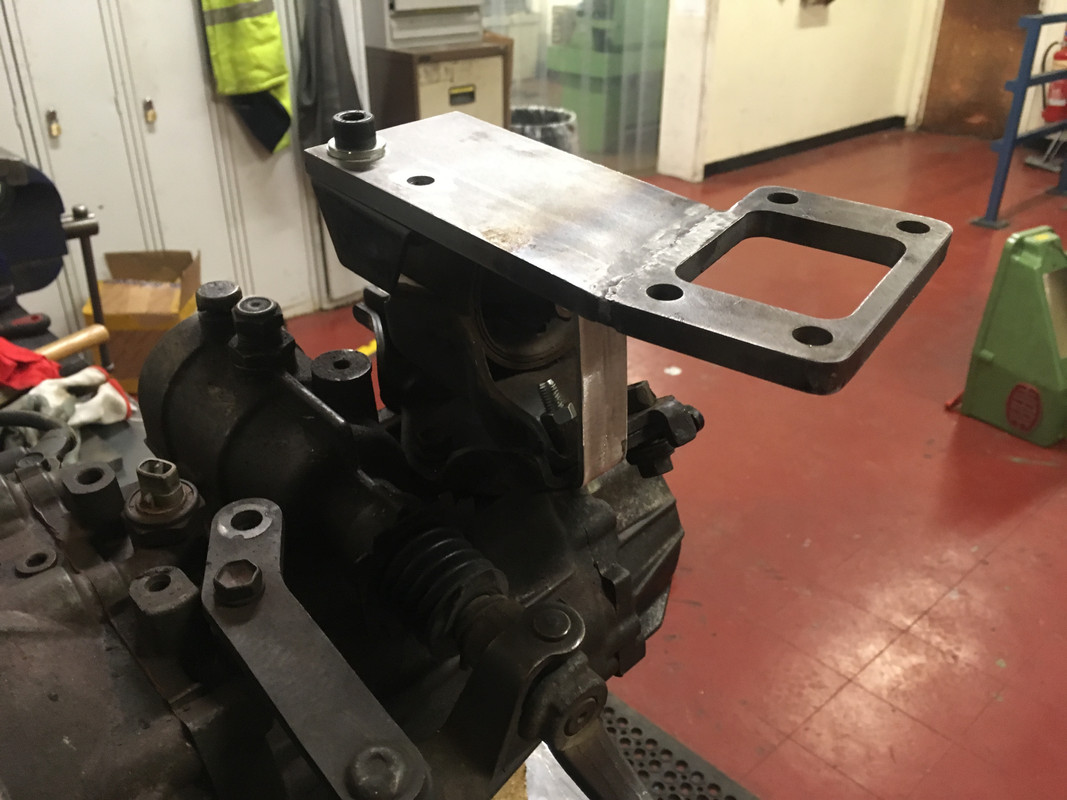
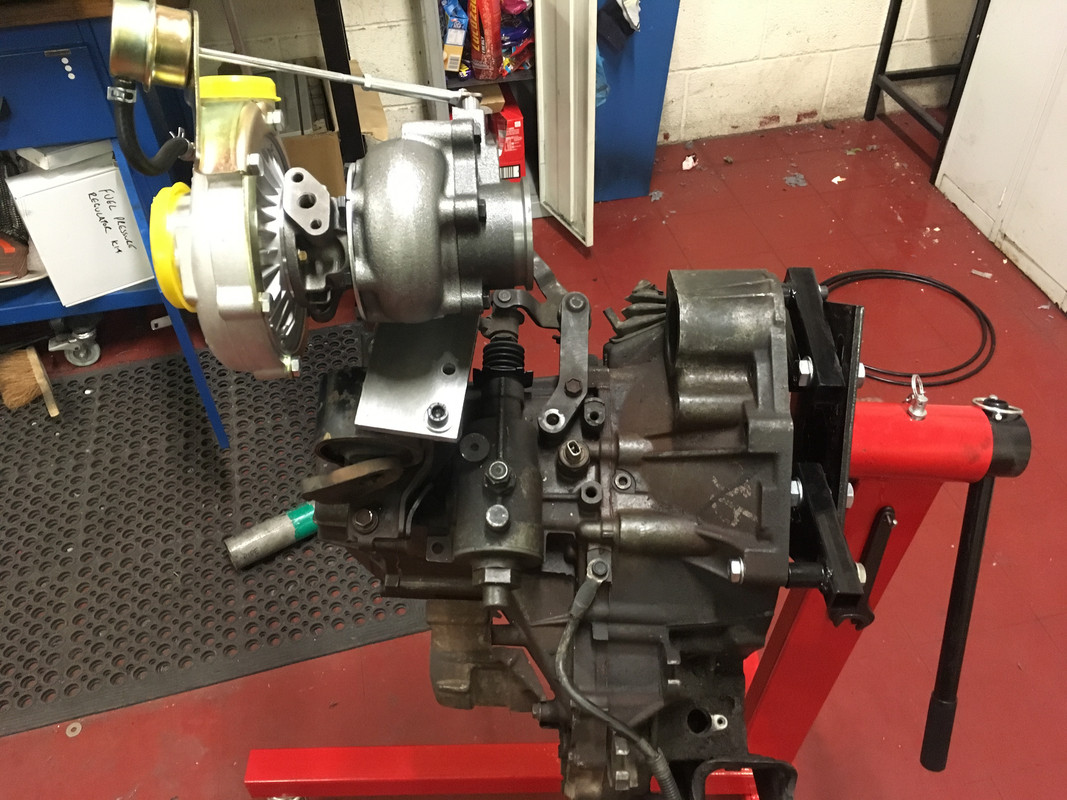
A lot of the fabrication work I had to do away from the car as I don't have a TIG welder at home and I really wanted to stay away from just MIG welding everything. Only because I think it looks neater.
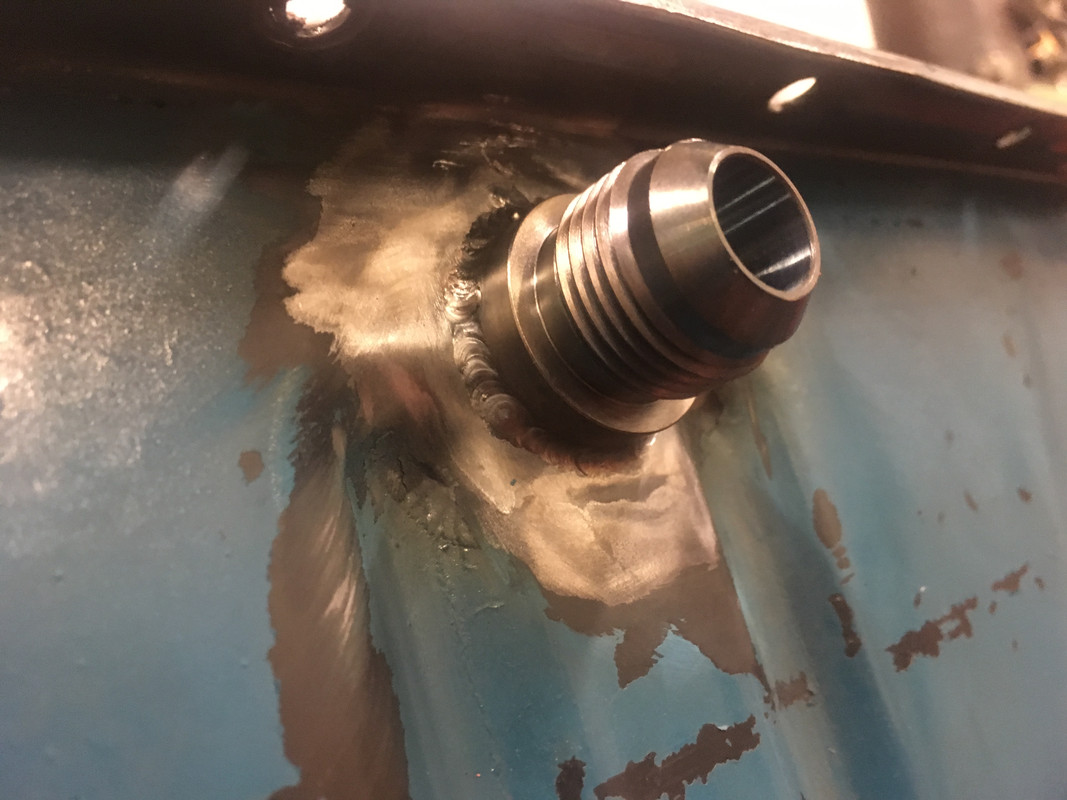
On to the oil return from the turbo. Nice and easy as I just bought a WELD ON AN-10 male fitting. filled the sump up so I could see where the oil level is then just drilled a hole above and welded the fitting on.
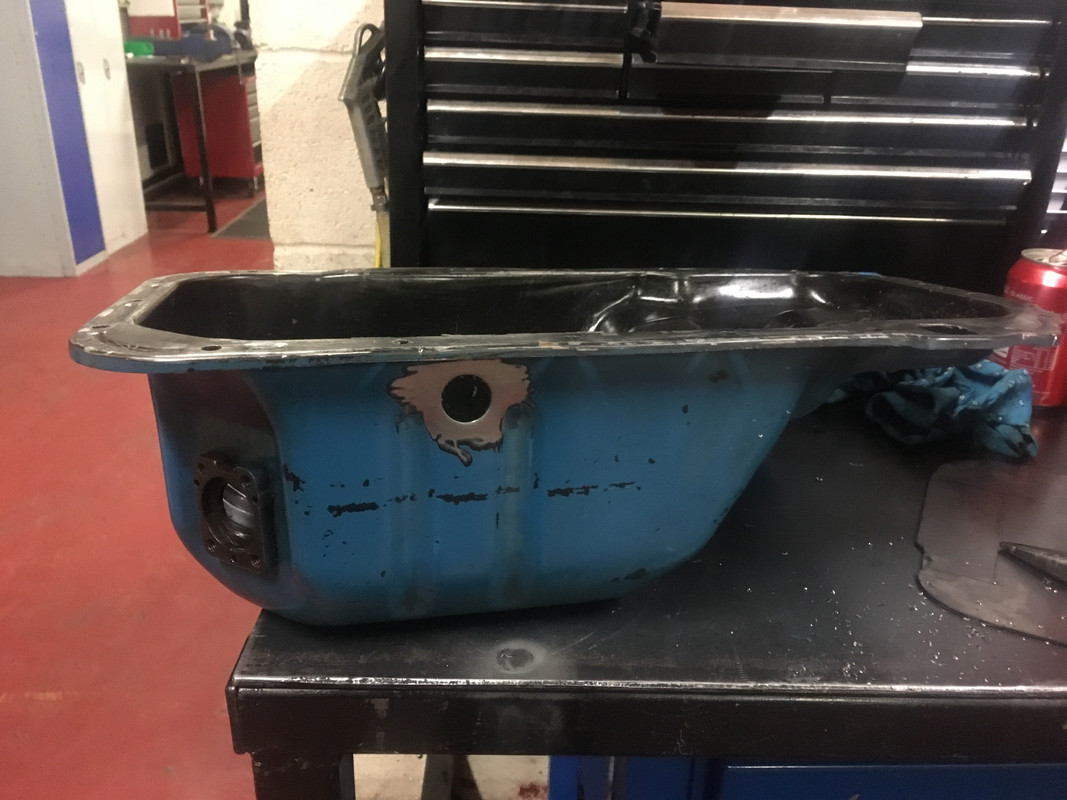
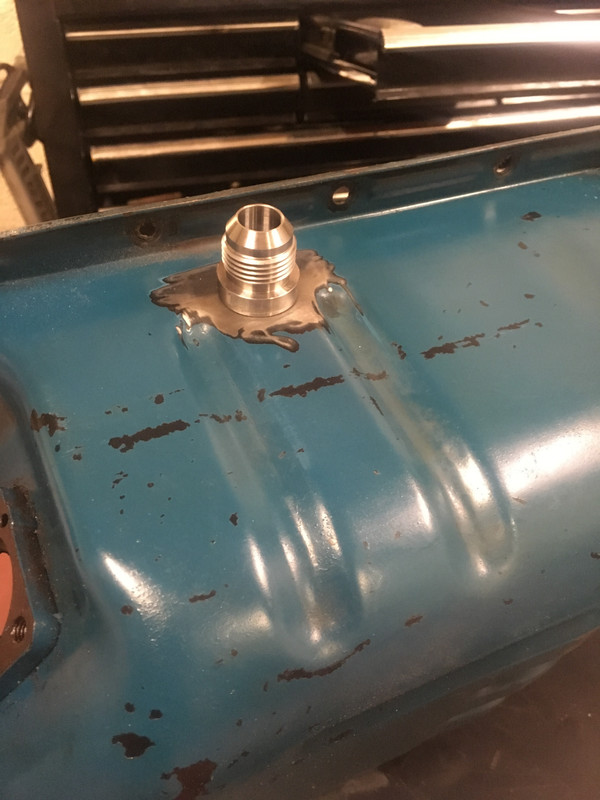
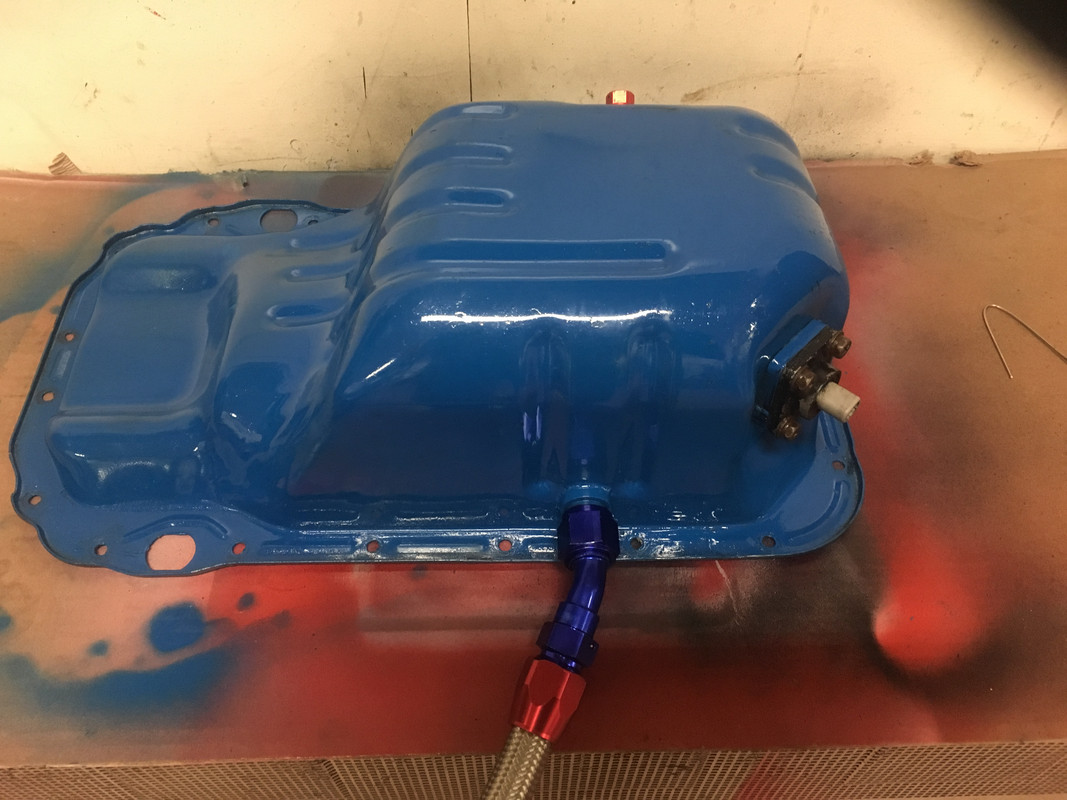
Then a quick paint and how it looks with the return line fitted. Never used these AN fittings before. So took a while to get to grips with the art of doing them. Well a pair of Aluminium vice jaws and a set of aluminium spanners did help.
On to inspecting the crank and changing the big end shells for good measure
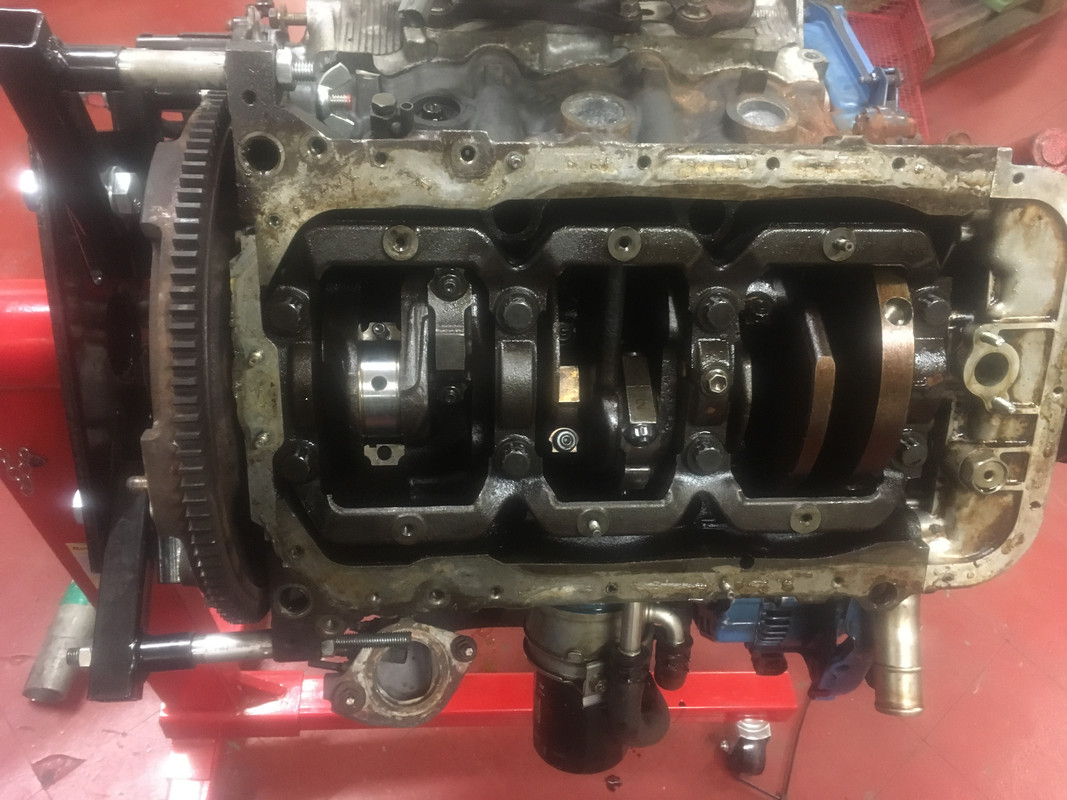
Unfortunately as you can see in the picture I managed to snap a con rod cap bolt. Not ideal in the least. Managed to get one from Toyota. The part number is the same as a 3s engine I do have it somewhere if anyone ever needs it. After a lot of swearing and Arse seeing I calmed done and realised it was only a interface fit bolt and not a stud. So a drift and a good smack knocked it out in one hit. Then it was just a case of pushing the new bolt in and using a bit of thin wall pipe and a nut to pull the bolt all the way through.
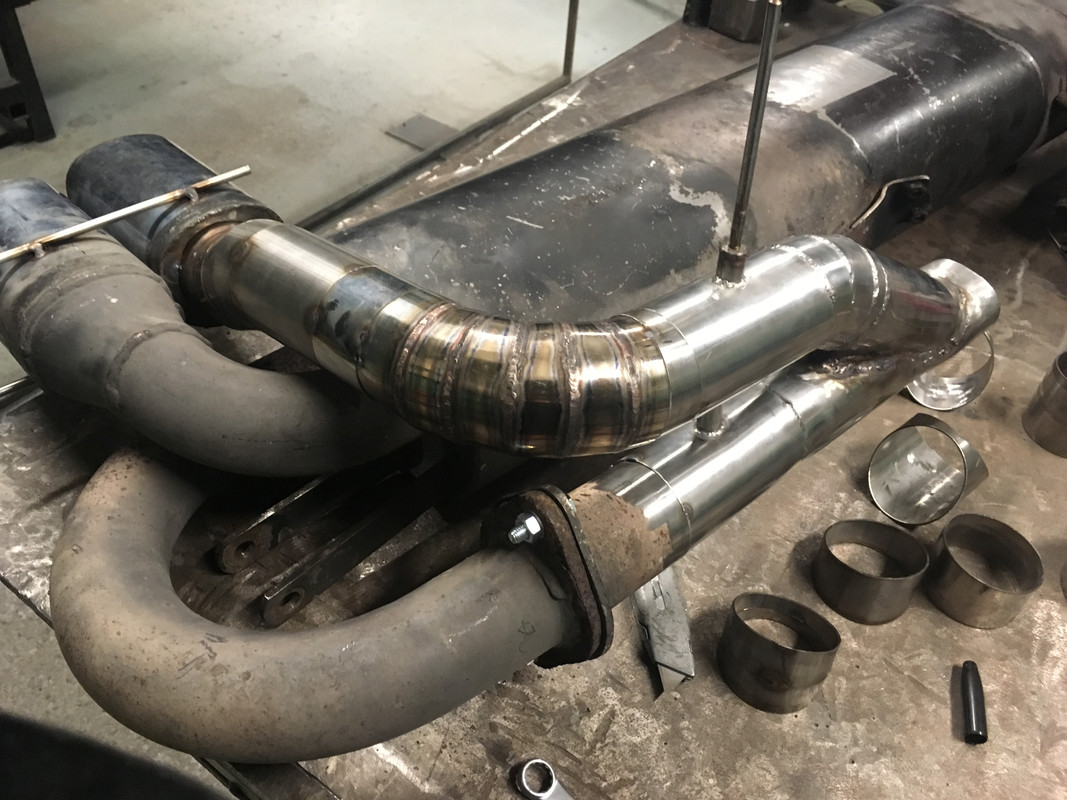
Next was to fabricate the exhausts from the headers to the turbo. I was quoted £500 for this to be done at a professional exhaust shop. But stuff that I think the sections, flexi's and flanges came in around £140 including the 2-1 merge. All 1.5mm wall 304 stainless.
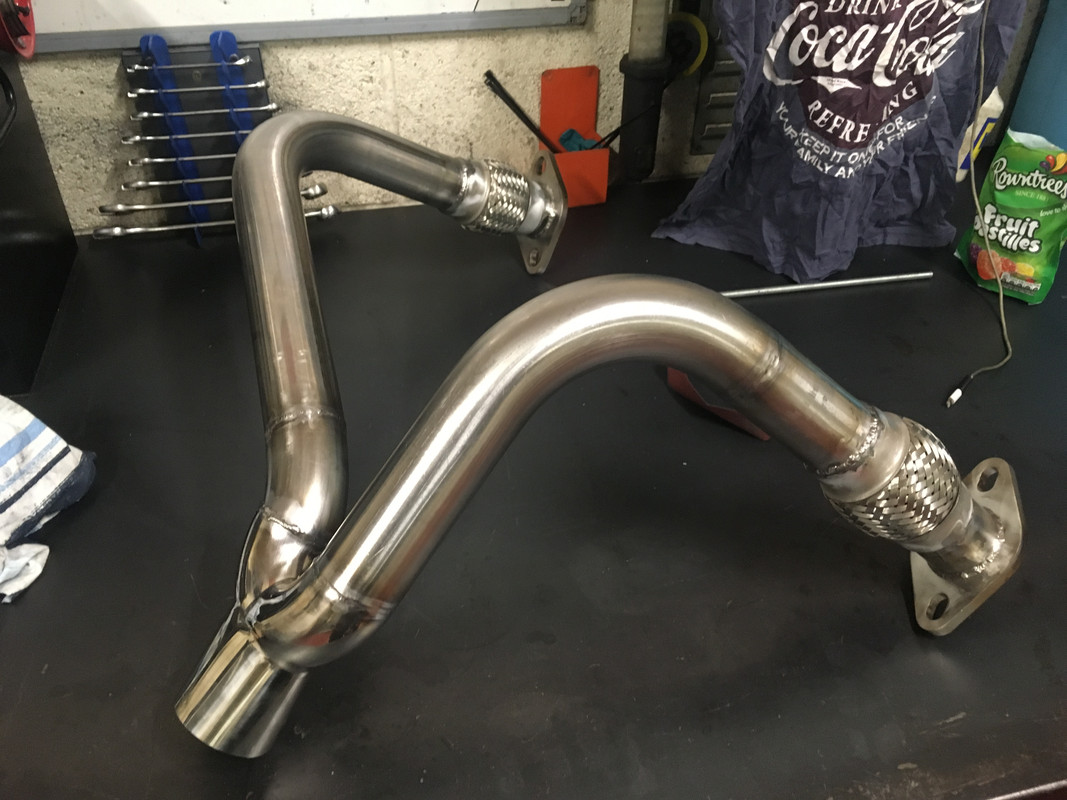
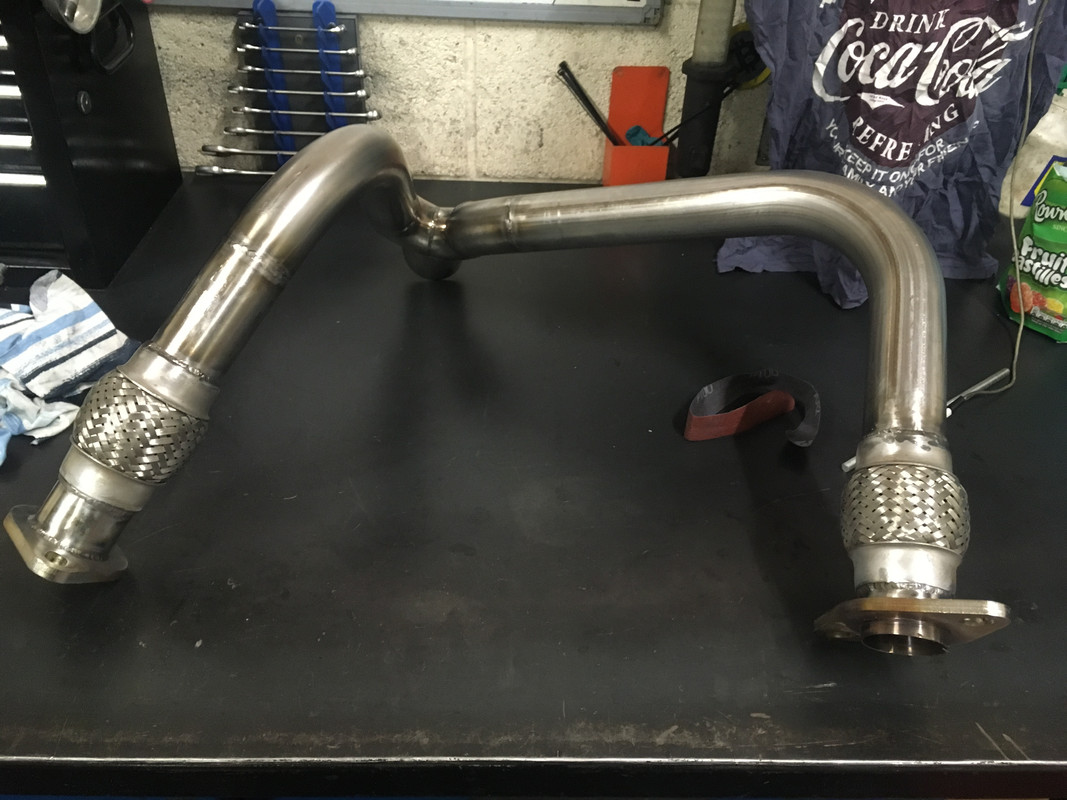
Quick basic leak test
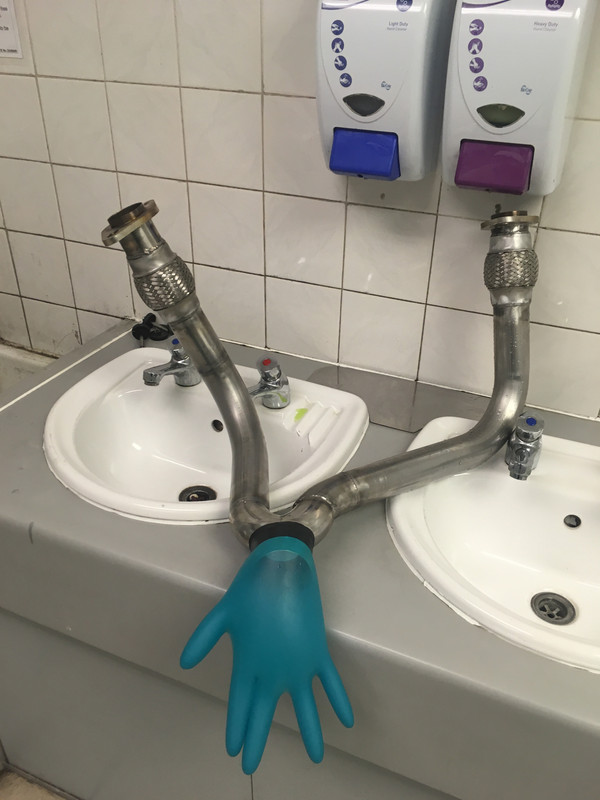
2-1 merge pipe is 2.5" to the turbo with a v clamp and I just bought a pre fabricated adapter for the turbo inlet as it worked out cheaper.
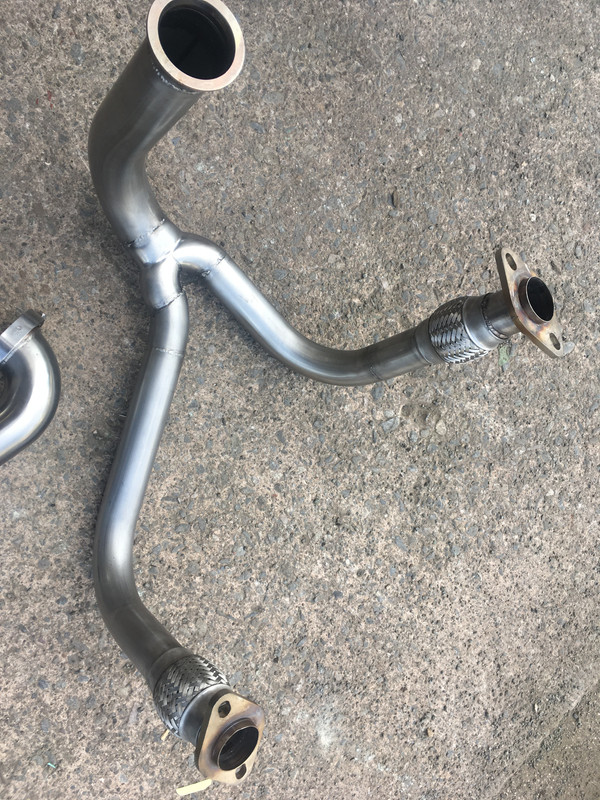
then on to the turbo exit pipe
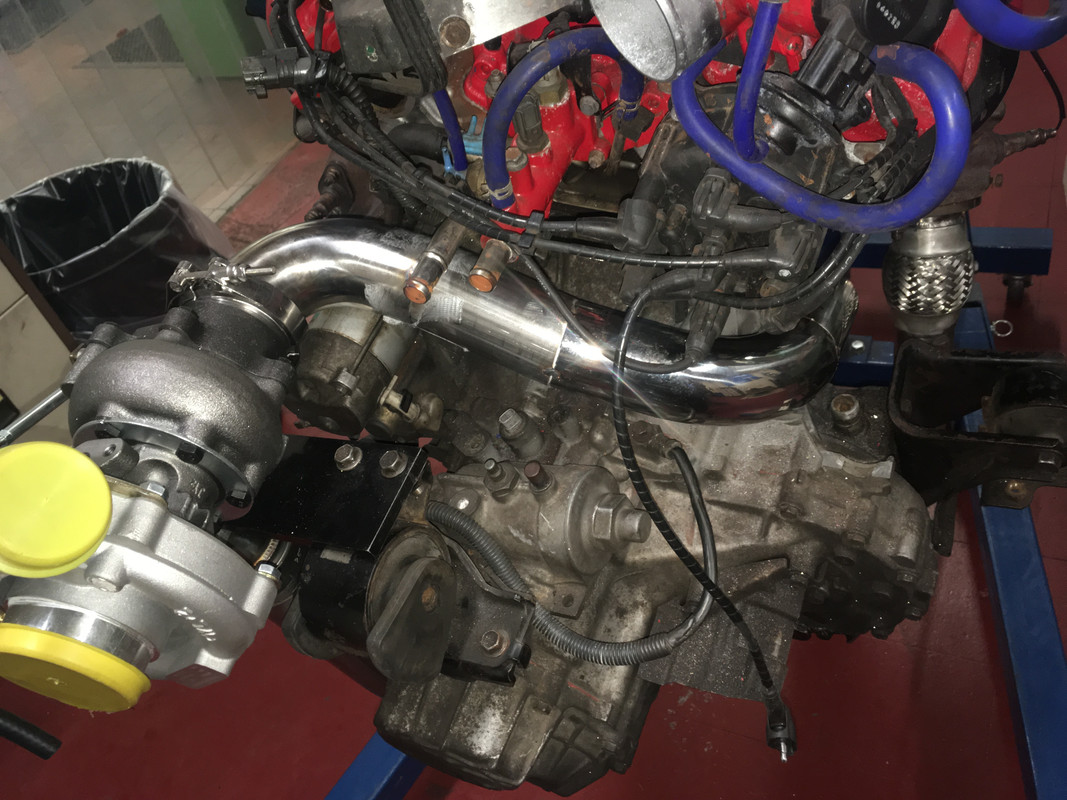
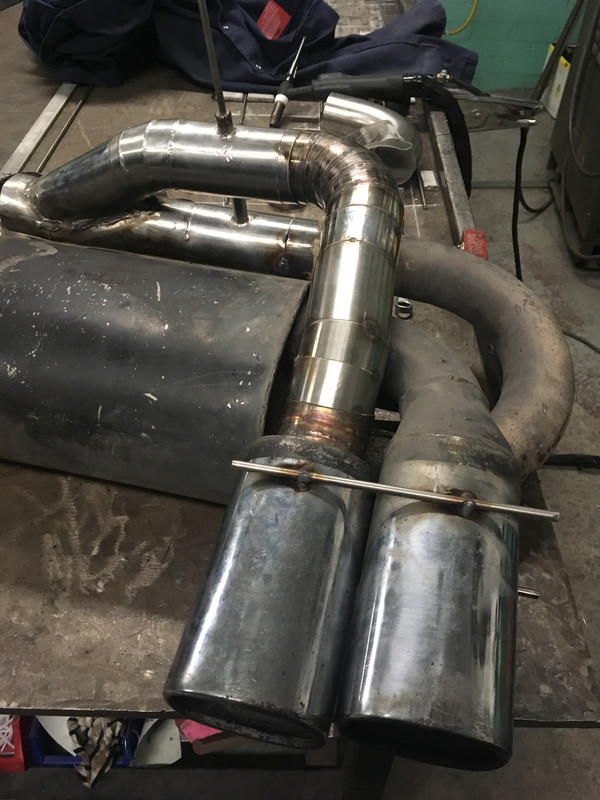
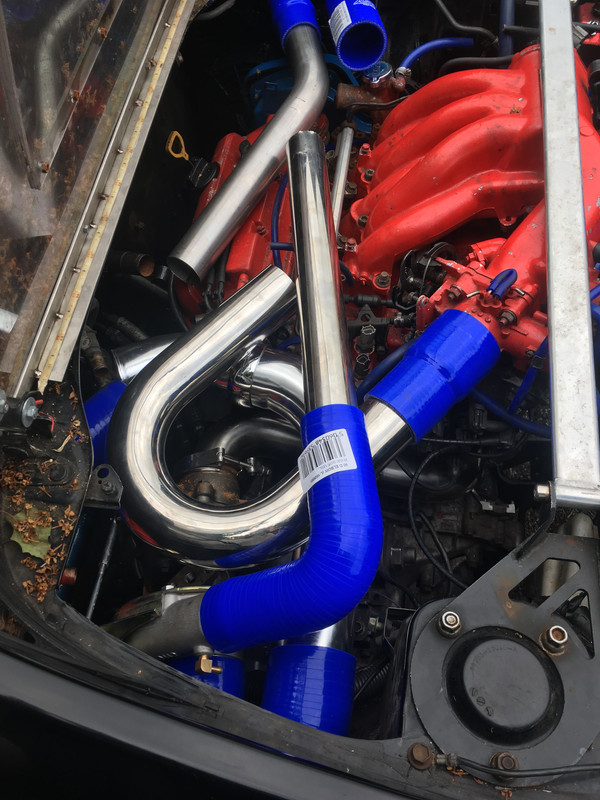
This is done again using 1.5mm wall 304 stainless 2.5" dia and I think the cost was around the £100 mark. Then my mate turned round and told me he can get hold of 2.5" pipe for a five finger discount. So I got a deal £50 for 2 meter lengths and 4 90' elbows. To be used later on.
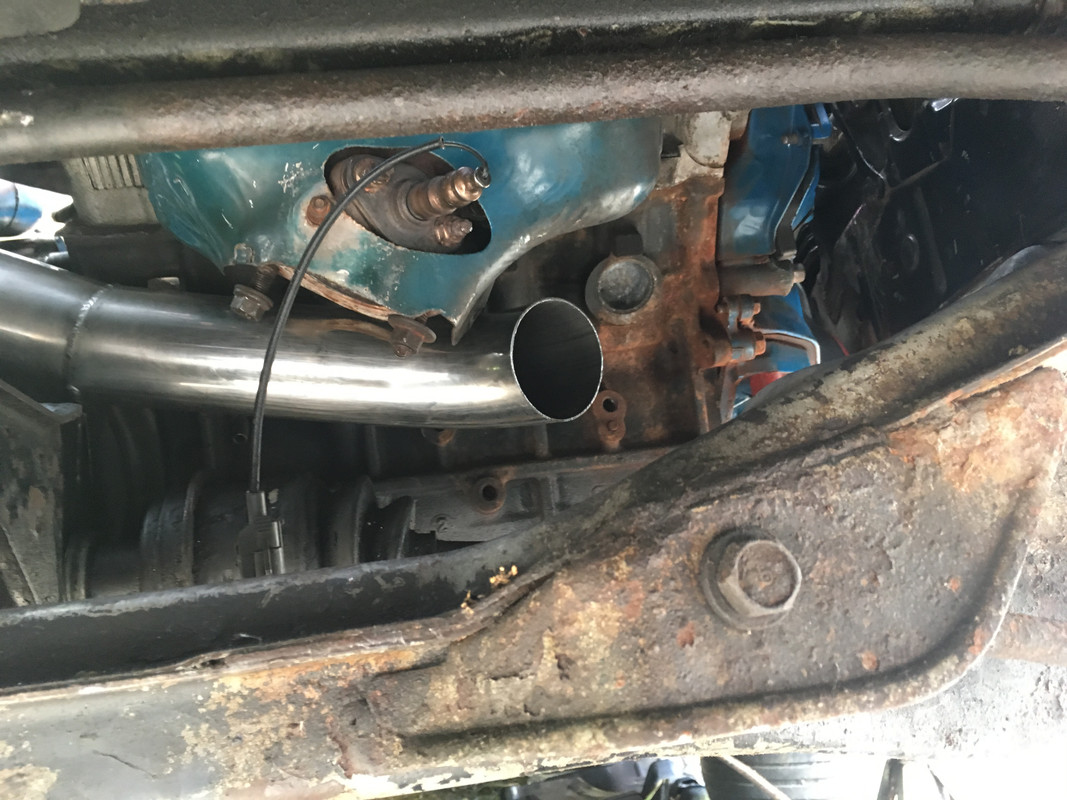
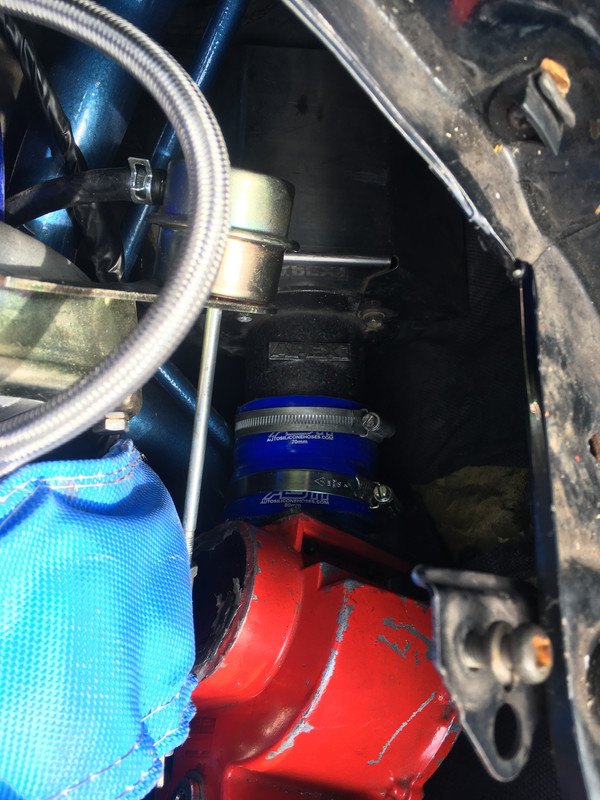
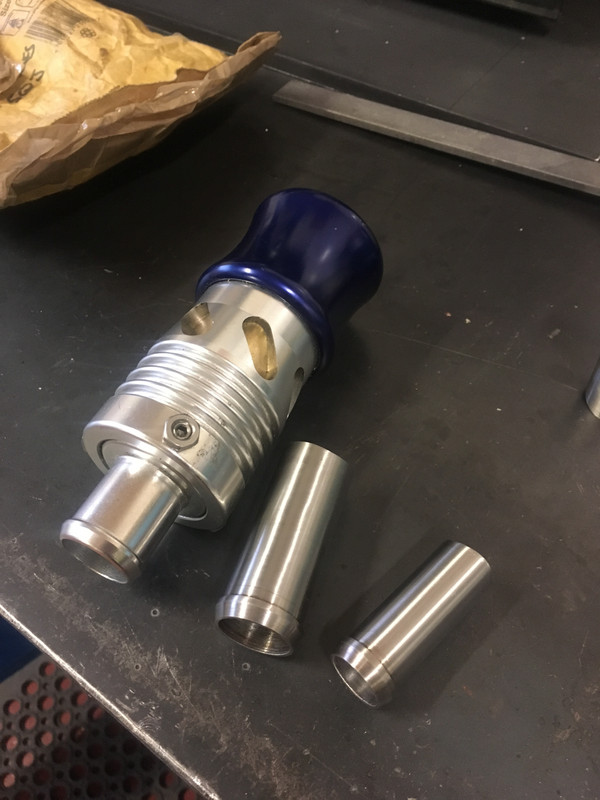
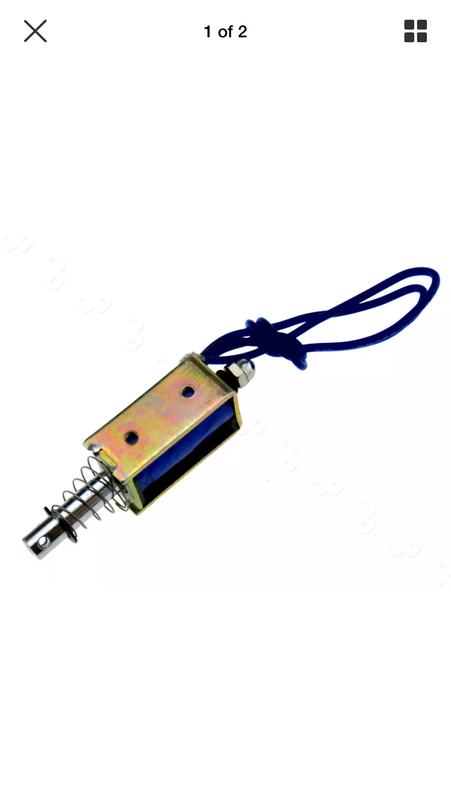
I routed the exit pipe behind the rear bank downpipe and back out almost in the same place as stock. I just had to install a flexi and a lobster back 75' bend. I will load a picture when I fit it. Same V clamp join. It goes into by by pass valve that I made using a twin throttle design. so when closed the gases flow through the back box and after 5000 rpm my Apexi RSM triggers a rely to a linear solenoid and closes the back box route and opens the straight pipe route. Probably makes no power difference but will sound nice. I set it at 5k purely so I don't annoy anyone when driving under normal conditions.
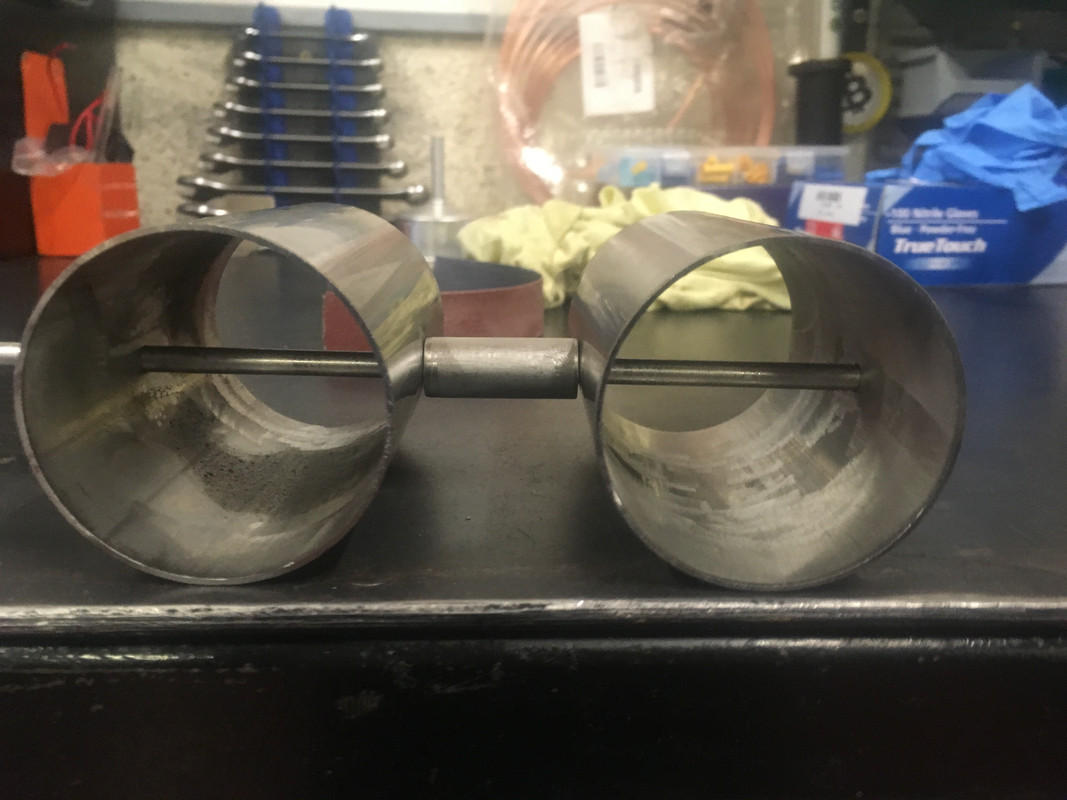
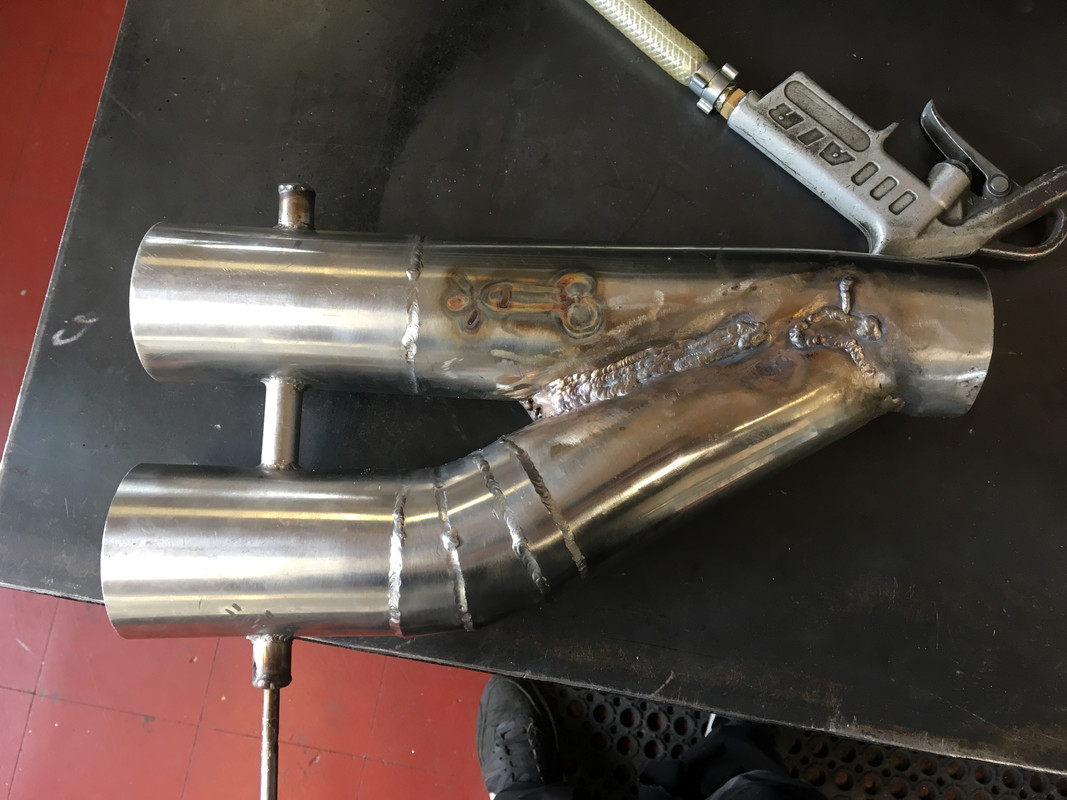
Please ignore the welds as I am going to redo it. Think I burned through more than I had neat runs.
Plus when I left it to cool one of the lads in work TIG'd a cock on it :rolleyes:
Custom bracket for the throttle cable as I had to change the route of it. I may end up getting a different unit. But I'll see how it goes for now.
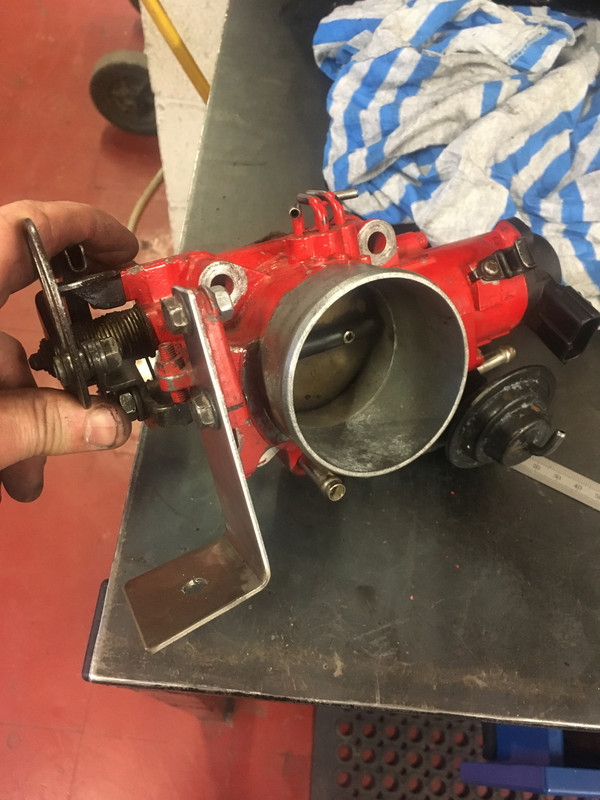
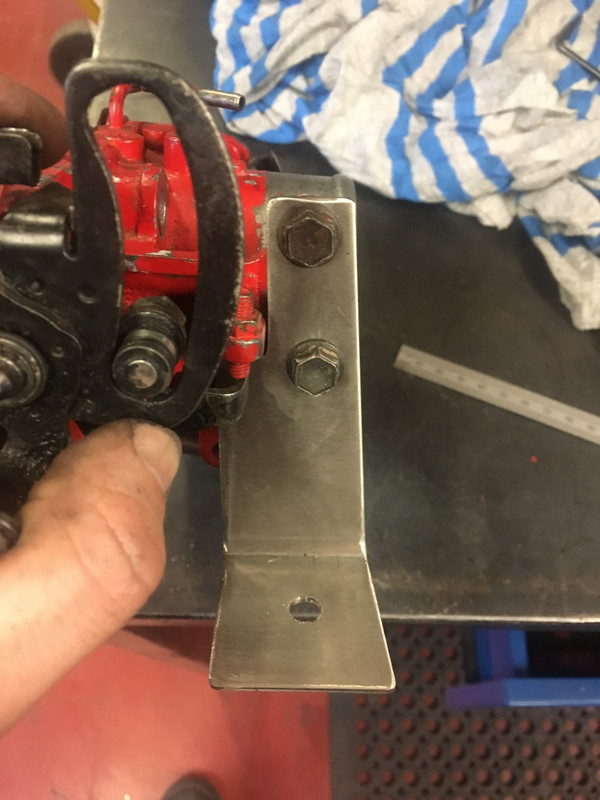
Had to make a heat shield for the slave cylinder and Dizzy
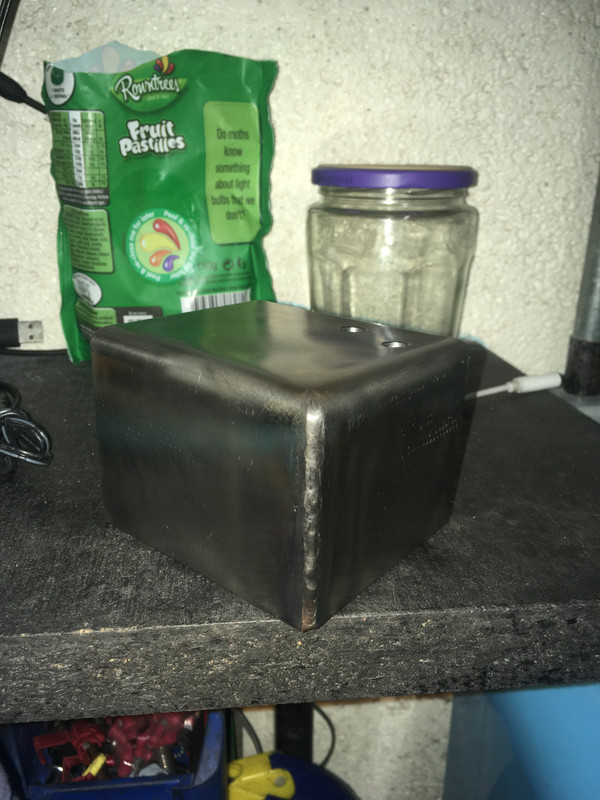
forgot to take a picture of the dizzy one
Then quickly hide the big lump in work from my manager
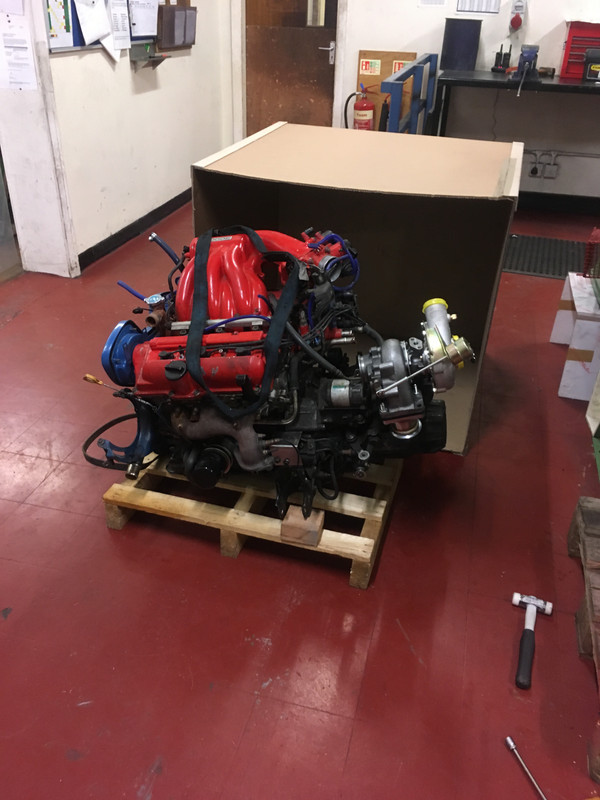
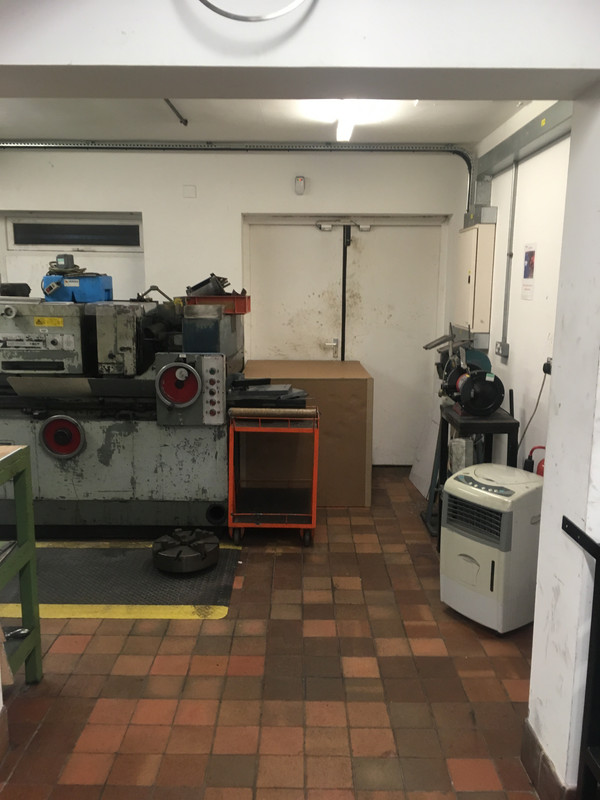
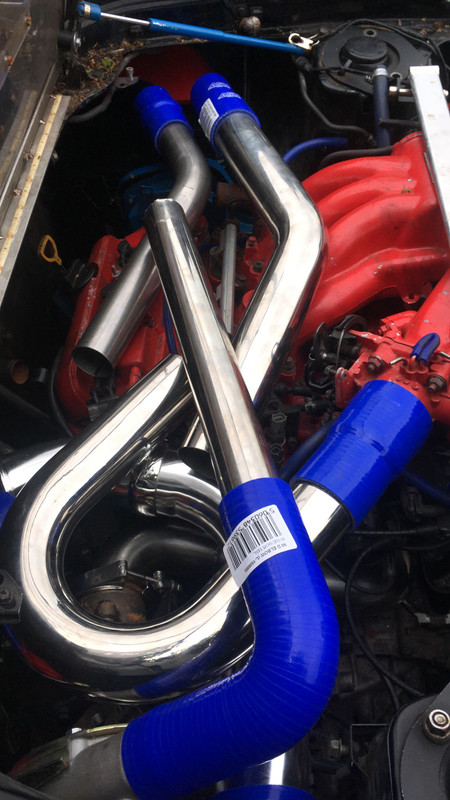
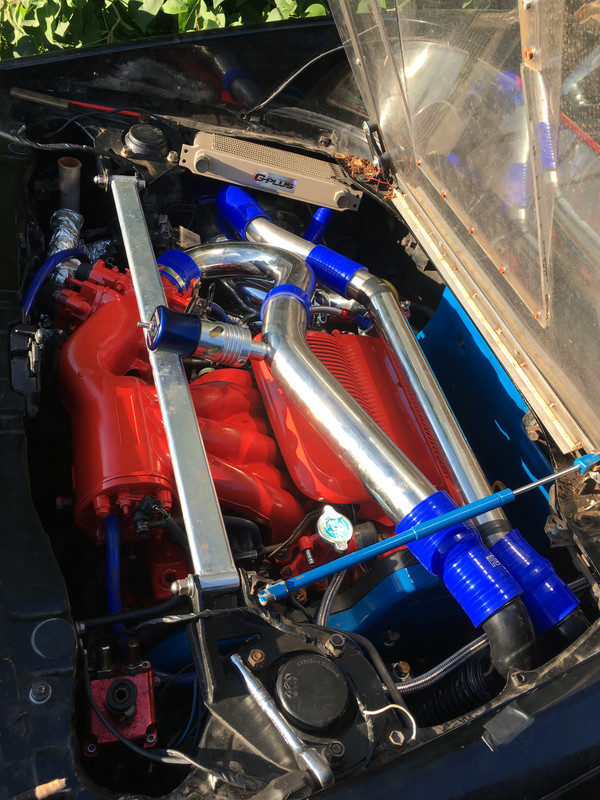
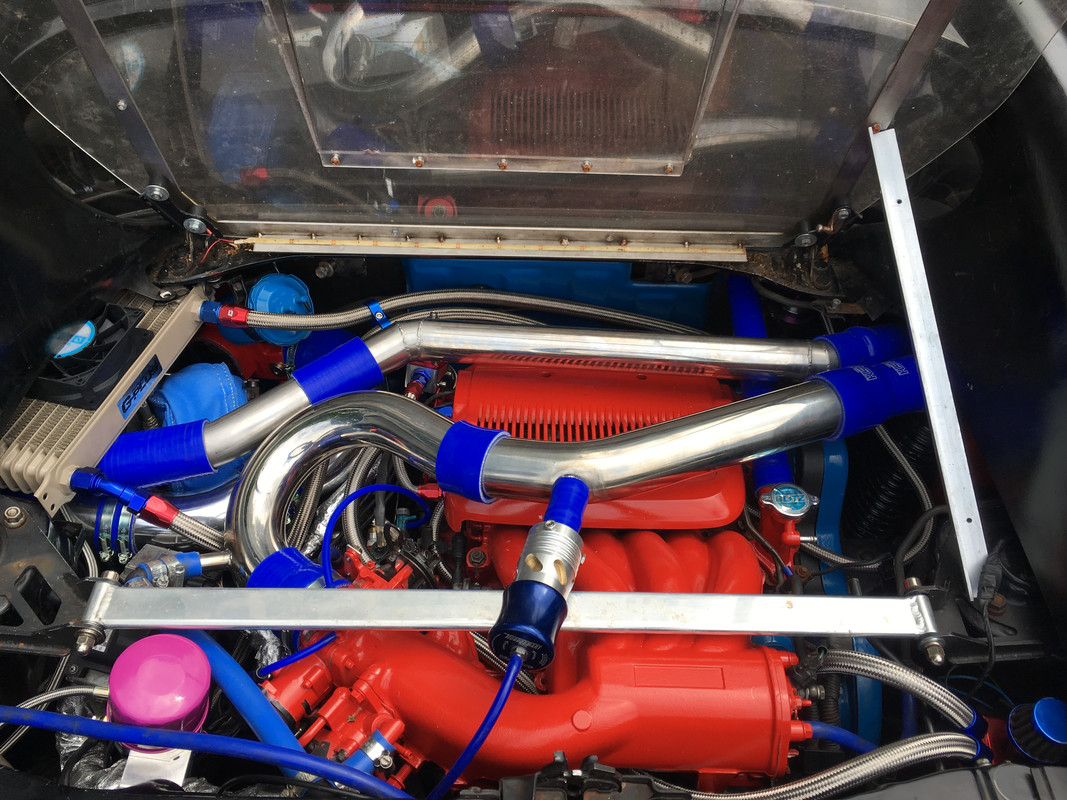
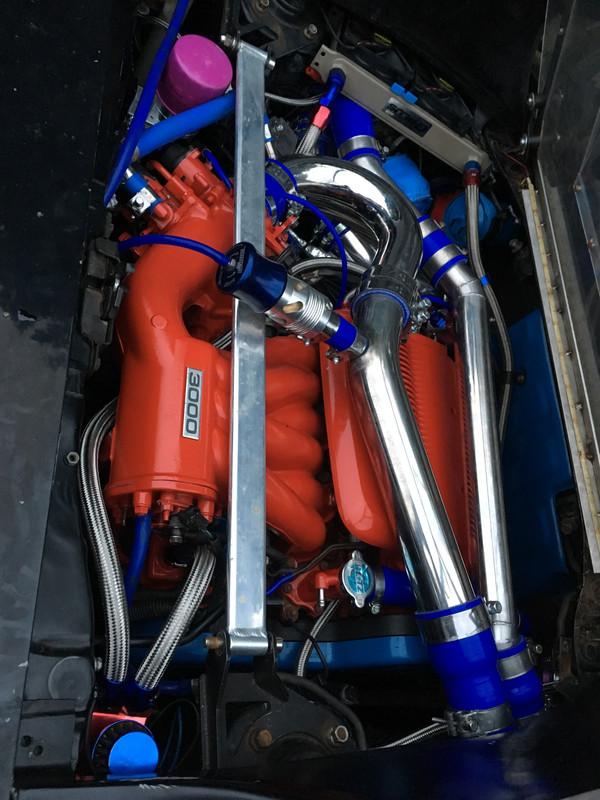
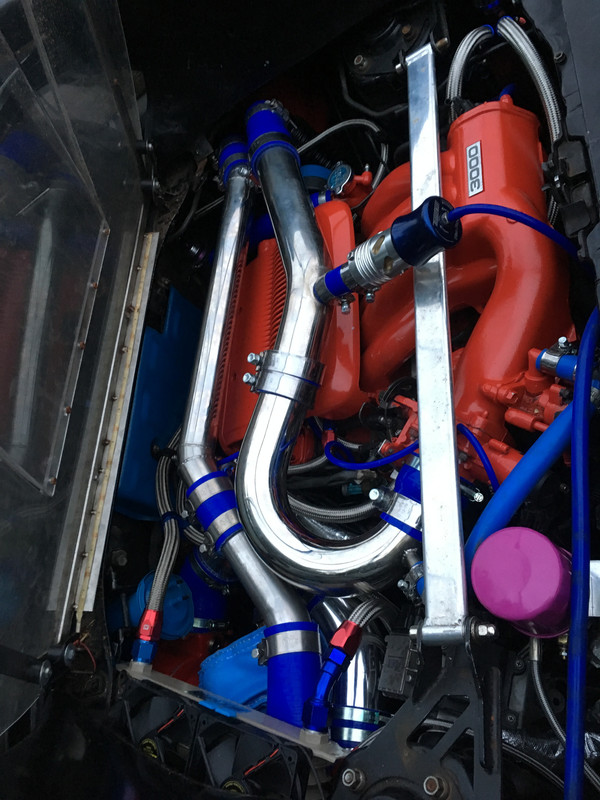
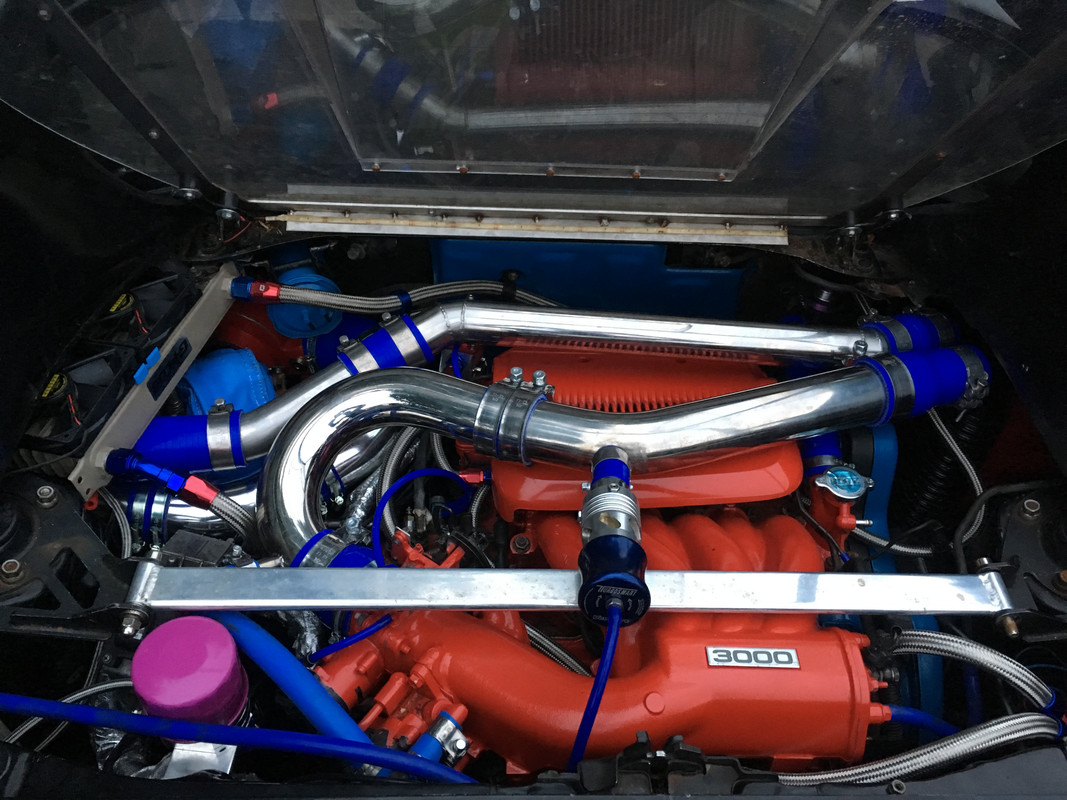
I'm using a OEM intercooler and shroud to get it running then will probably swap it to a Greddy style one if it wont cool the charge air temp. I've fitted a gauge that measures the in and out temps of the cooler so I'll find out that way.
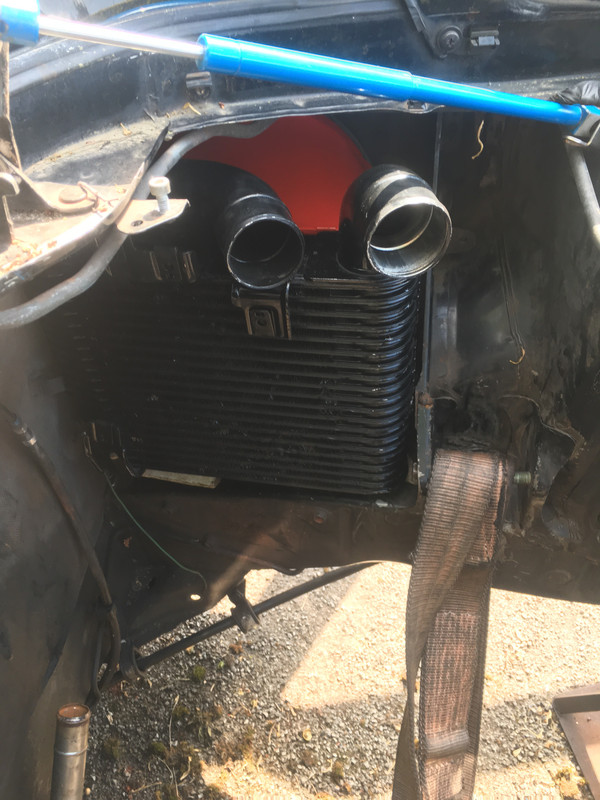
just had to make a few brackets from 25mm 304 flat bar to hold it slightly higher than it would sit. Also the I have installed a 8" push fan inside the shroud to make clearance room for the alternator. Its tight but can be removed with the engine in place. But as a precaution the alternator has been fully refurbished.
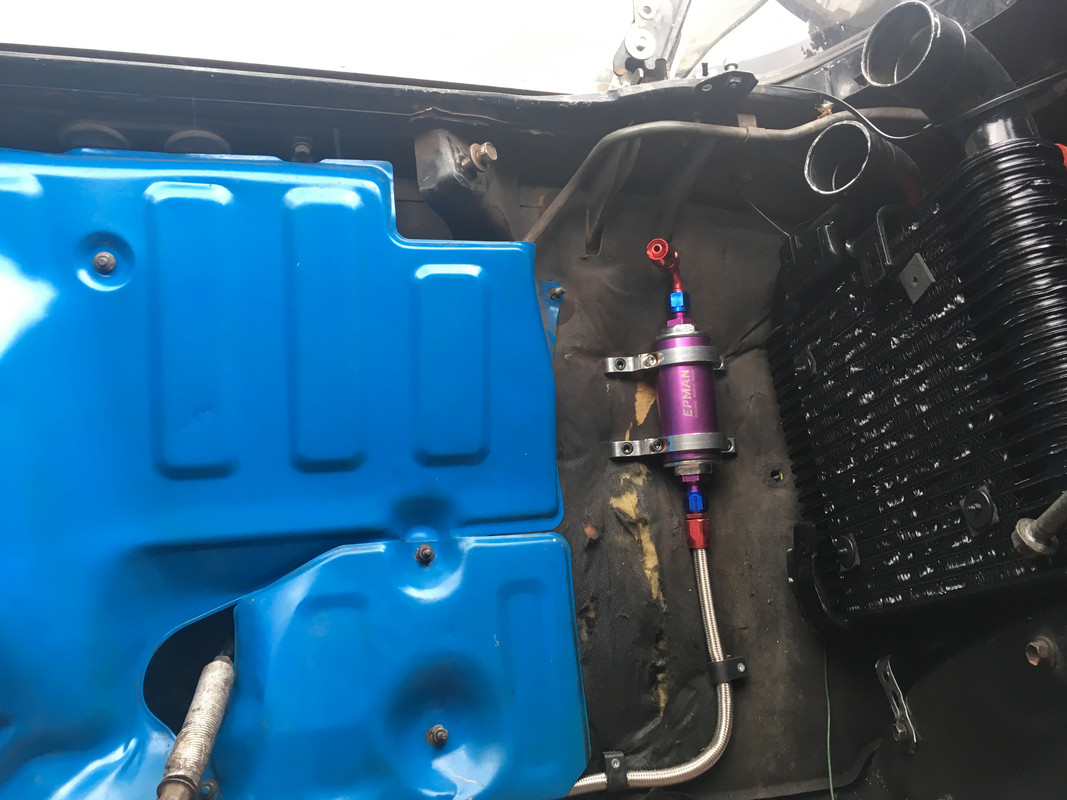
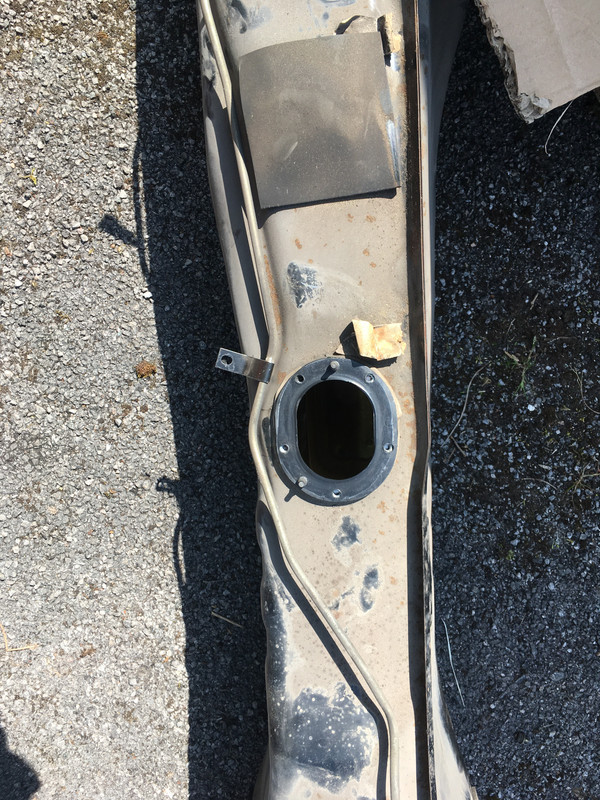
Next was to drop the tank and swap the pump for a Supra one. This is not as hard as people think. awkward on your own and on stands but didn't take more than a hour. Easier with the engine out. Also gave me chance to remove the U/S aircon pipes.
Old na pump next to the supra one
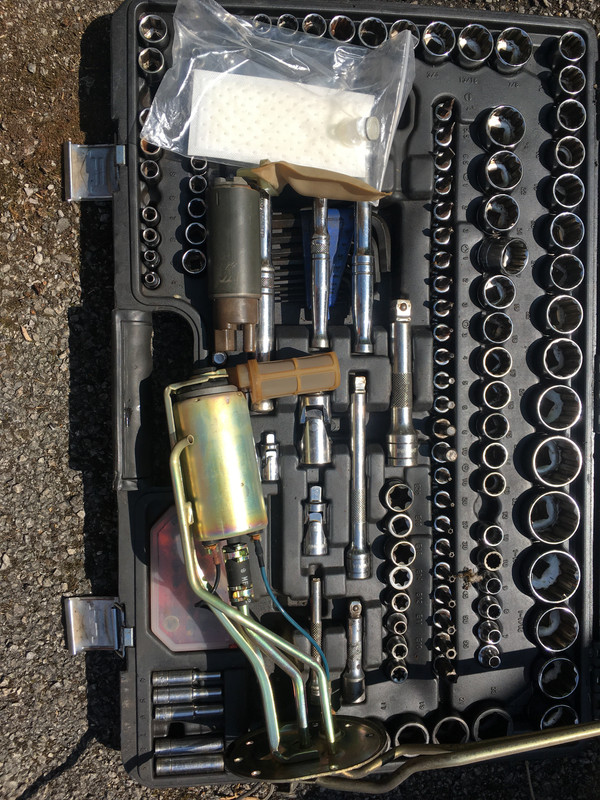
Then back in the hole it goes
A quick picture of where my tea has been going
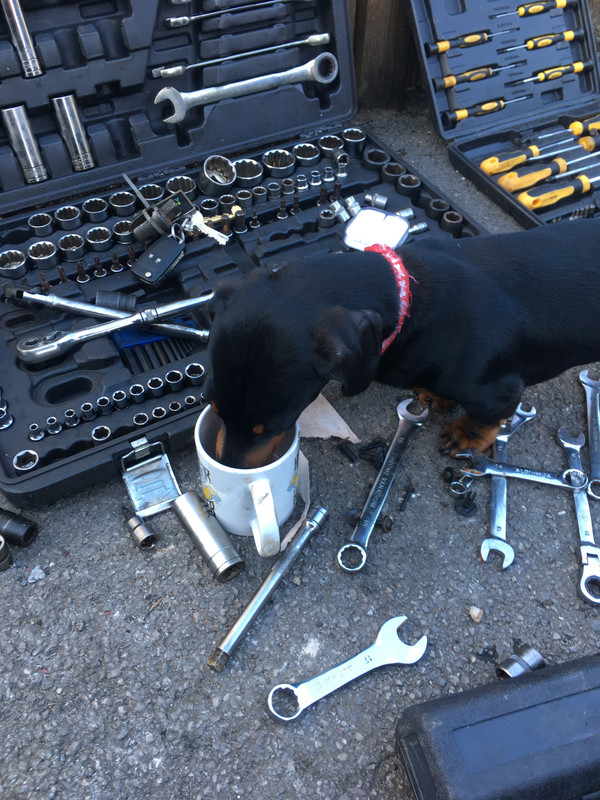
Answers to the name Lincoln(shire sausage dog)
I couldn't resist building this too
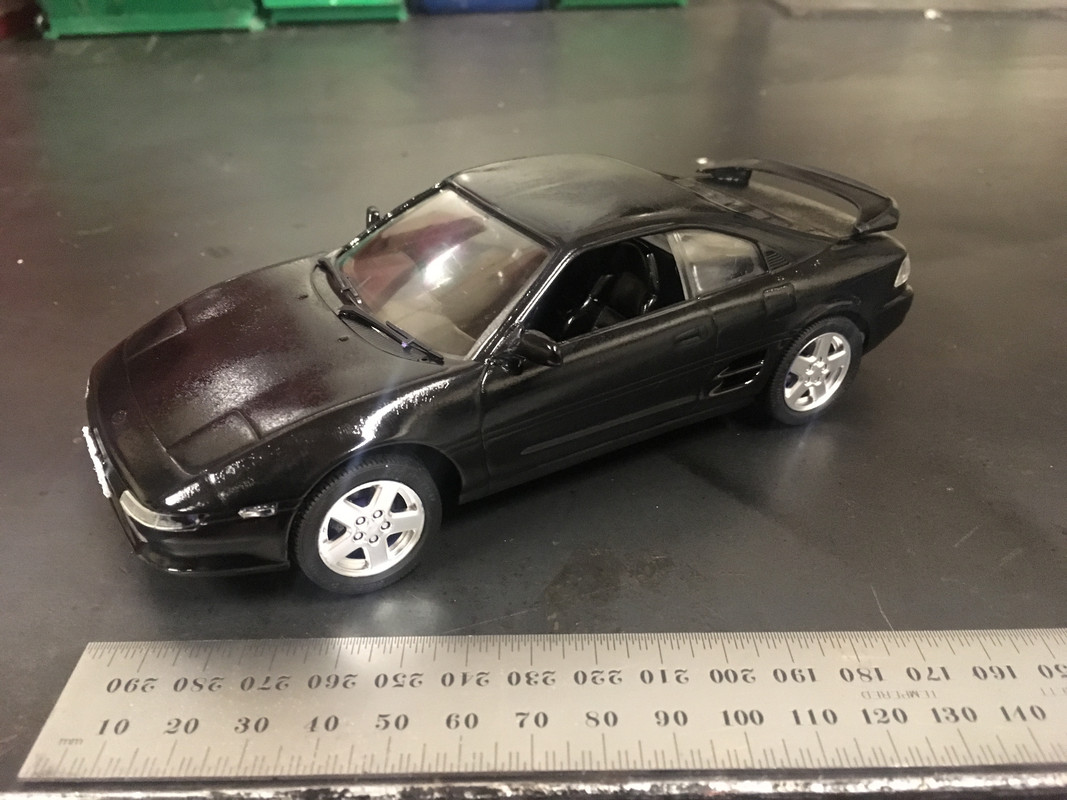
I'll leave the thread here for today and carry on my post later. Hopefully with beer in hand....
I did have this in mind when I first started the V6 conversion 18 months ago but as things get I the way I had to settle for just a na v6 for 12 months. So after 6 months of sourcing more or less everything I need here's my build.
I started with this

Pulled the whole rear end out, as it was easier to mock up the exhaust route and I wanted to rebuild the bottom end. This was the only thing I didn't do when I did the original conversion. Mainly because the engine had only done 81,000 miles.

Even after 12 months of being driven daily the poor thing looks knackered, but on to a new lease on life for this beast.
The first thing was to fabricate a mount to hold the turbo over the gearbox but still allowed space for the exhaust to and from it. Although the piping was to be heat wrapped as well as a heat jacket for the turbo.


A lot of the fabrication work I had to do away from the car as I don't have a TIG welder at home and I really wanted to stay away from just MIG welding everything. Only because I think it looks neater.
On to the oil return from the turbo. Nice and easy as I just bought a WELD ON AN-10 male fitting. filled the sump up so I could see where the oil level is then just drilled a hole above and welded the fitting on.


Then a quick paint and how it looks with the return line fitted. Never used these AN fittings before. So took a while to get to grips with the art of doing them. Well a pair of Aluminium vice jaws and a set of aluminium spanners did help.

On to inspecting the crank and changing the big end shells for good measure

Unfortunately as you can see in the picture I managed to snap a con rod cap bolt. Not ideal in the least. Managed to get one from Toyota. The part number is the same as a 3s engine I do have it somewhere if anyone ever needs it. After a lot of swearing and Arse seeing I calmed done and realised it was only a interface fit bolt and not a stud. So a drift and a good smack knocked it out in one hit. Then it was just a case of pushing the new bolt in and using a bit of thin wall pipe and a nut to pull the bolt all the way through.
Next was to fabricate the exhausts from the headers to the turbo. I was quoted £500 for this to be done at a professional exhaust shop. But stuff that I think the sections, flexi's and flanges came in around £140 including the 2-1 merge. All 1.5mm wall 304 stainless.


Quick basic leak test

2-1 merge pipe is 2.5" to the turbo with a v clamp and I just bought a pre fabricated adapter for the turbo inlet as it worked out cheaper.

then on to the turbo exit pipe

This is done again using 1.5mm wall 304 stainless 2.5" dia and I think the cost was around the £100 mark. Then my mate turned round and told me he can get hold of 2.5" pipe for a five finger discount. So I got a deal £50 for 2 meter lengths and 4 90' elbows. To be used later on.

I routed the exit pipe behind the rear bank downpipe and back out almost in the same place as stock. I just had to install a flexi and a lobster back 75' bend. I will load a picture when I fit it. Same V clamp join. It goes into by by pass valve that I made using a twin throttle design. so when closed the gases flow through the back box and after 5000 rpm my Apexi RSM triggers a rely to a linear solenoid and closes the back box route and opens the straight pipe route. Probably makes no power difference but will sound nice. I set it at 5k purely so I don't annoy anyone when driving under normal conditions.


Please ignore the welds as I am going to redo it. Think I burned through more than I had neat runs.
Plus when I left it to cool one of the lads in work TIG'd a cock on it :rolleyes:
Custom bracket for the throttle cable as I had to change the route of it. I may end up getting a different unit. But I'll see how it goes for now.


Had to make a heat shield for the slave cylinder and Dizzy

forgot to take a picture of the dizzy one
Then quickly hide the big lump in work from my manager


I'm using a OEM intercooler and shroud to get it running then will probably swap it to a Greddy style one if it wont cool the charge air temp. I've fitted a gauge that measures the in and out temps of the cooler so I'll find out that way.

just had to make a few brackets from 25mm 304 flat bar to hold it slightly higher than it would sit. Also the I have installed a 8" push fan inside the shroud to make clearance room for the alternator. Its tight but can be removed with the engine in place. But as a precaution the alternator has been fully refurbished.
Next was to drop the tank and swap the pump for a Supra one. This is not as hard as people think. awkward on your own and on stands but didn't take more than a hour. Easier with the engine out. Also gave me chance to remove the U/S aircon pipes.
Old na pump next to the supra one

Then back in the hole it goes

A quick picture of where my tea has been going

Answers to the name Lincoln(shire sausage dog)
I couldn't resist building this too

I'll leave the thread here for today and carry on my post later. Hopefully with beer in hand....


